I have had some more practice with casting aluminum and now I have even upgraded my oven. My original ovens electrical plan did not account for wire durability based on wattage and length of wire so it quickly wore out.
I also attached an arduino nano to the oven so I could quickly enter rising and falling temperature times.
Further, because I now havea 3d printer I have been doing lost pla casting. Its much faster and the shrinkage can be predicted pretty accurately.
Below is a cut and paste of the results. Most of the time you need 105% enlargement for parts that can fit in your hand.
| Name | Description | 3d length | 3d width | 3d inside | wax length | wax width | wax inside | alum length | Alum width | alum inside | target length | target width | target inside | shrinkage | Oversize Post Calc | notes |
| 7mm roller pin | pin for hypocycloid | 7.5 | 7.41 | |||||||||||||
| hypo cam spacer | spacer for 100:1 cams | 18.8 | 38.7-38.8 | 14.92 | 18.2 | 38.2 | 14.75 | |||||||||
| 7mm roller 103% | scaled up | na/ stem | 7.03-7.15 | 5.02-5.12 | 6.81 | 4.79 | ||||||||||
| cam spacer 103% | scaled up | 19.45 | 40 | 15.3-15.4 | ||||||||||||
| square block 103% | scaled up | 11.87 | 65.37 | 26.74-26.84 | 11.4 | 64.61 | 26.88-27.12 | |||||||||
| Eccentric 103% | scaled up | 82.29-82.38 | 4.89-5.13 | 10.10-10.20 | 4.83 | 9.8 | Stipling came in perfect but required light sanding which quickly pulled .2 of item | |||||||||
| tree | 6.91 | 6.71 | ||||||||||||||
Here is an example of how easy it can be to cast. Casting is not really ever easy. Its time consuming.
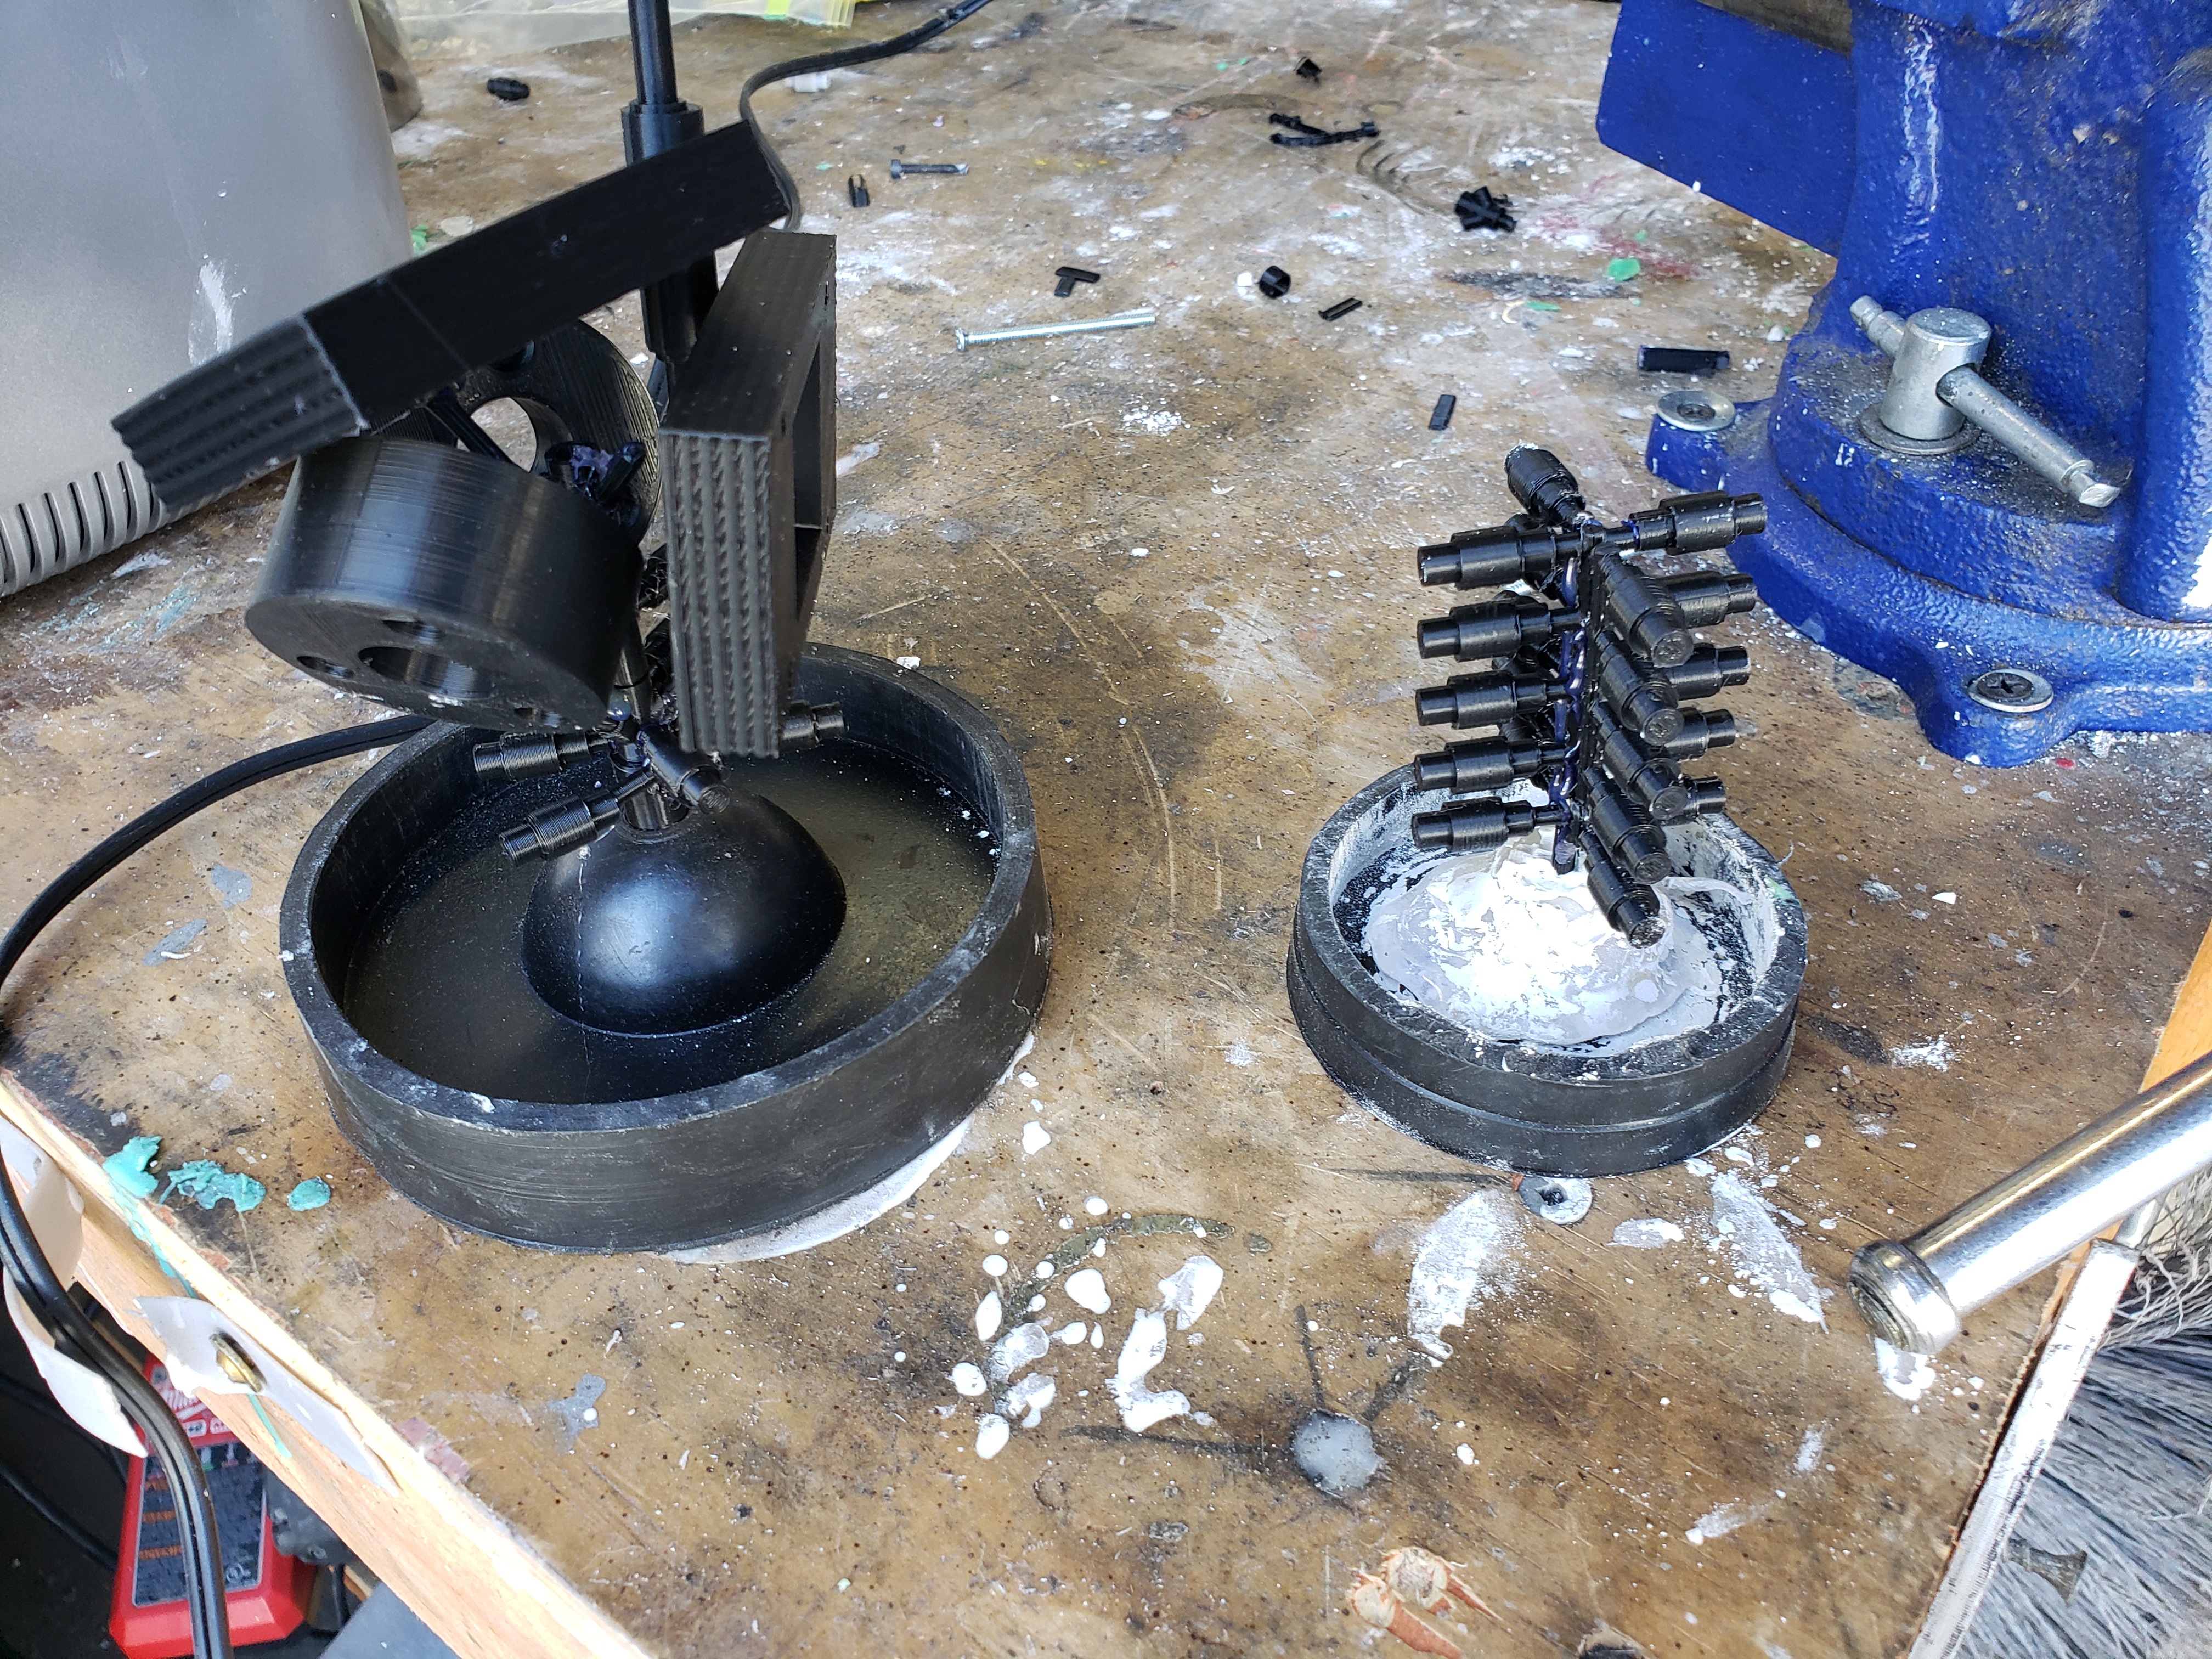
Below is my whole aluminum casting setup. You can see the oven is upgraded with a control unit and relay. I use a vacuum as normal to draw down pressure during pour. The toaster oven preheats the parts so they don’t have moisture.
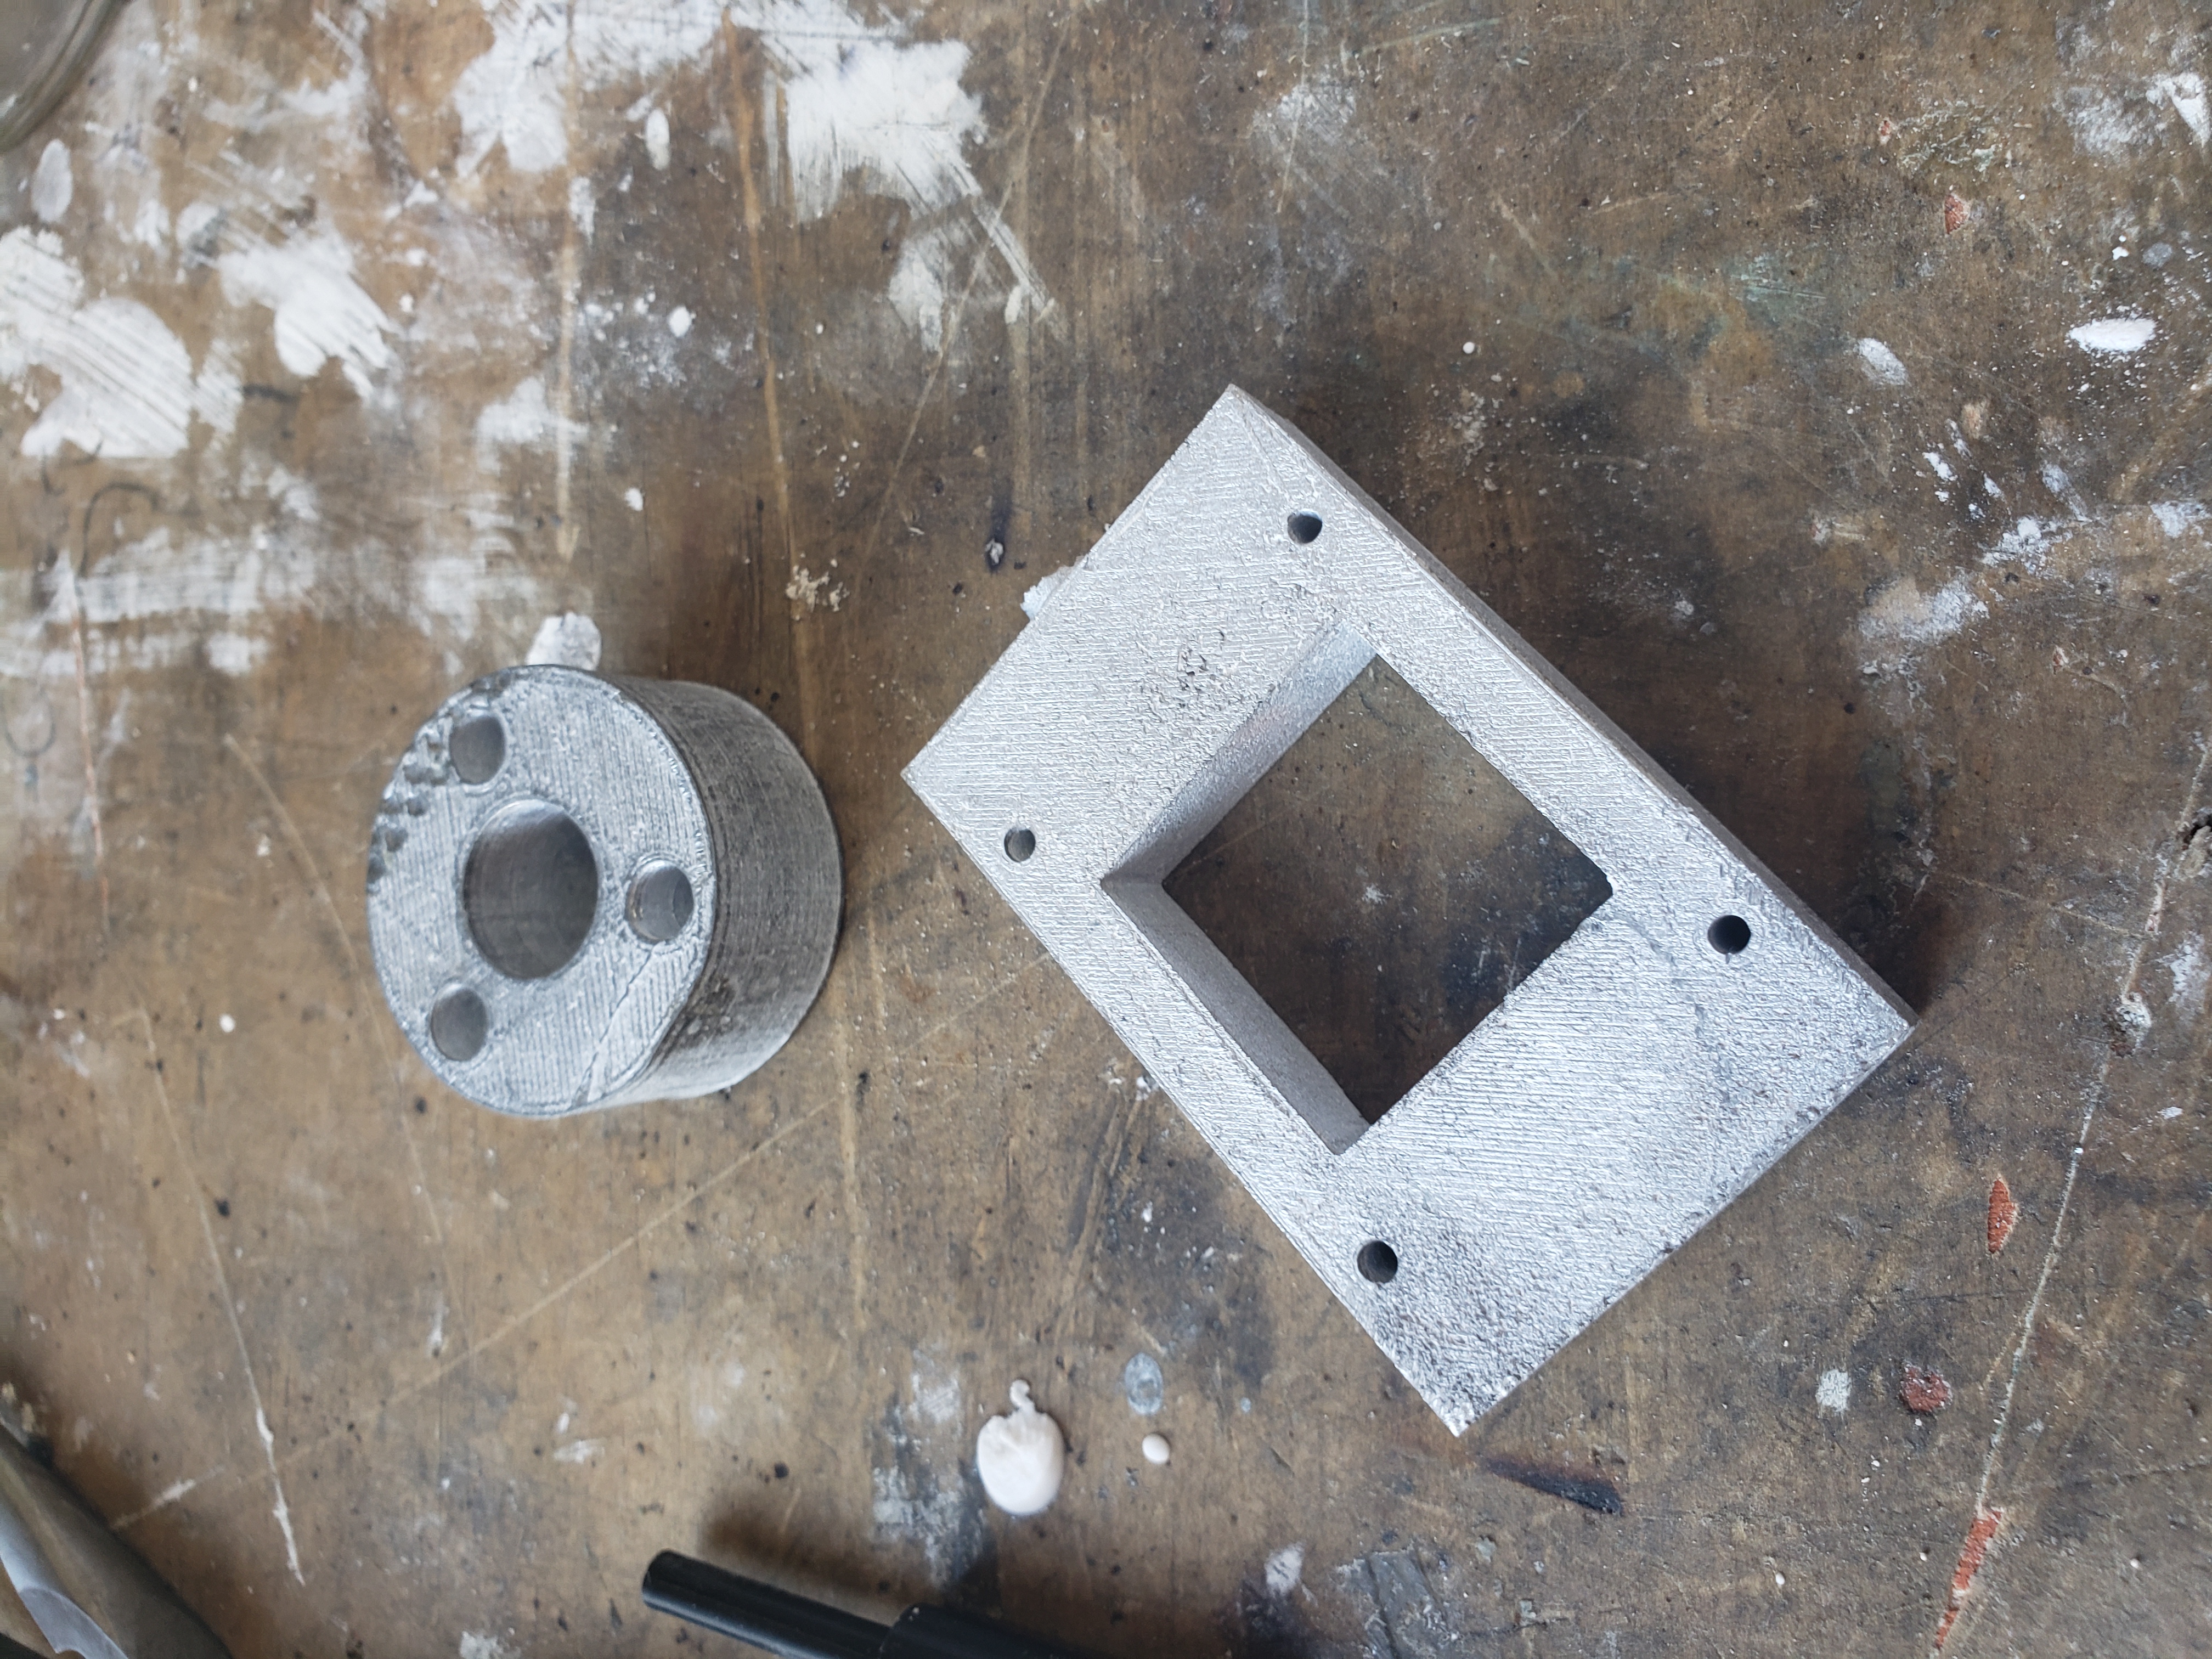
Below are two of the parts. I whacked it with a hammer to see if it would do anything. It didn’t.