Custom parts are hard to come by. Off the shelf parts are literally forming a trash island in the ocean. This is my dive into making custom parts. I could have gone at it a few different ways but my limitations are as follows.
Time – I don’t want to spend 10 hours milling a part
Money – I don’t wan’t to buy a bunch of new machines
Space – My workshop is packed. A lathe really wont fit…and I want one really really bad!
My solution is to use my cnc to make mold which I can then fill with aluminum. My goal is to create a worm drive.
In my mind I have defined 3 basic levels of tolerance for parts.
- Low tolerance – Toys, piston engine or machine exterior, frame/structural
- Medium tolerance – Low rpm gearboxes, actuators, machine interior
- High Tolerance – Internals of engine, high rpm gearbox
This worm drive is medium tolerance.
My first attempt started innocently enough with some foam purchased as the hardware store. Its housing insulation and its only $5 a sheet. Its reasonably dense and can be machined very very quickly. Here I am making half of a worm.
My original thought was to make a plaster mold of this foam cut out. But in reality the foam didn’t machine that cleanly. I tried to make a plaster mold of the screw by simply cutting the half’s out and placing them into plaster molds. Here is a mold I made and in this picture its doesn’t look half bad. But it looked terrible up close and because I cut the foam pieces out the precision was lost and it was lop sided. Second the plaster adhered to the foam because the foam had a rough surface after milling. Finally I was using paraffin wax which didn’t separate easily from the foam mold.

Below you can see the pieces I am working with. Not terrible but not great. I may still experiment with this foam and plaster because it would be a cheap and easy method if I could get it working.
I abandon the wax model I created and instead of a plaster mold I tried doing a “sand casting” with delft clay. This was the first time I have ever poured aluminum in my life. Fun, but I knew right away that I could make it better. Obviously my pours and molds would get better over time.
Here you can see the result. I don’t think this is half bad for a first pour.
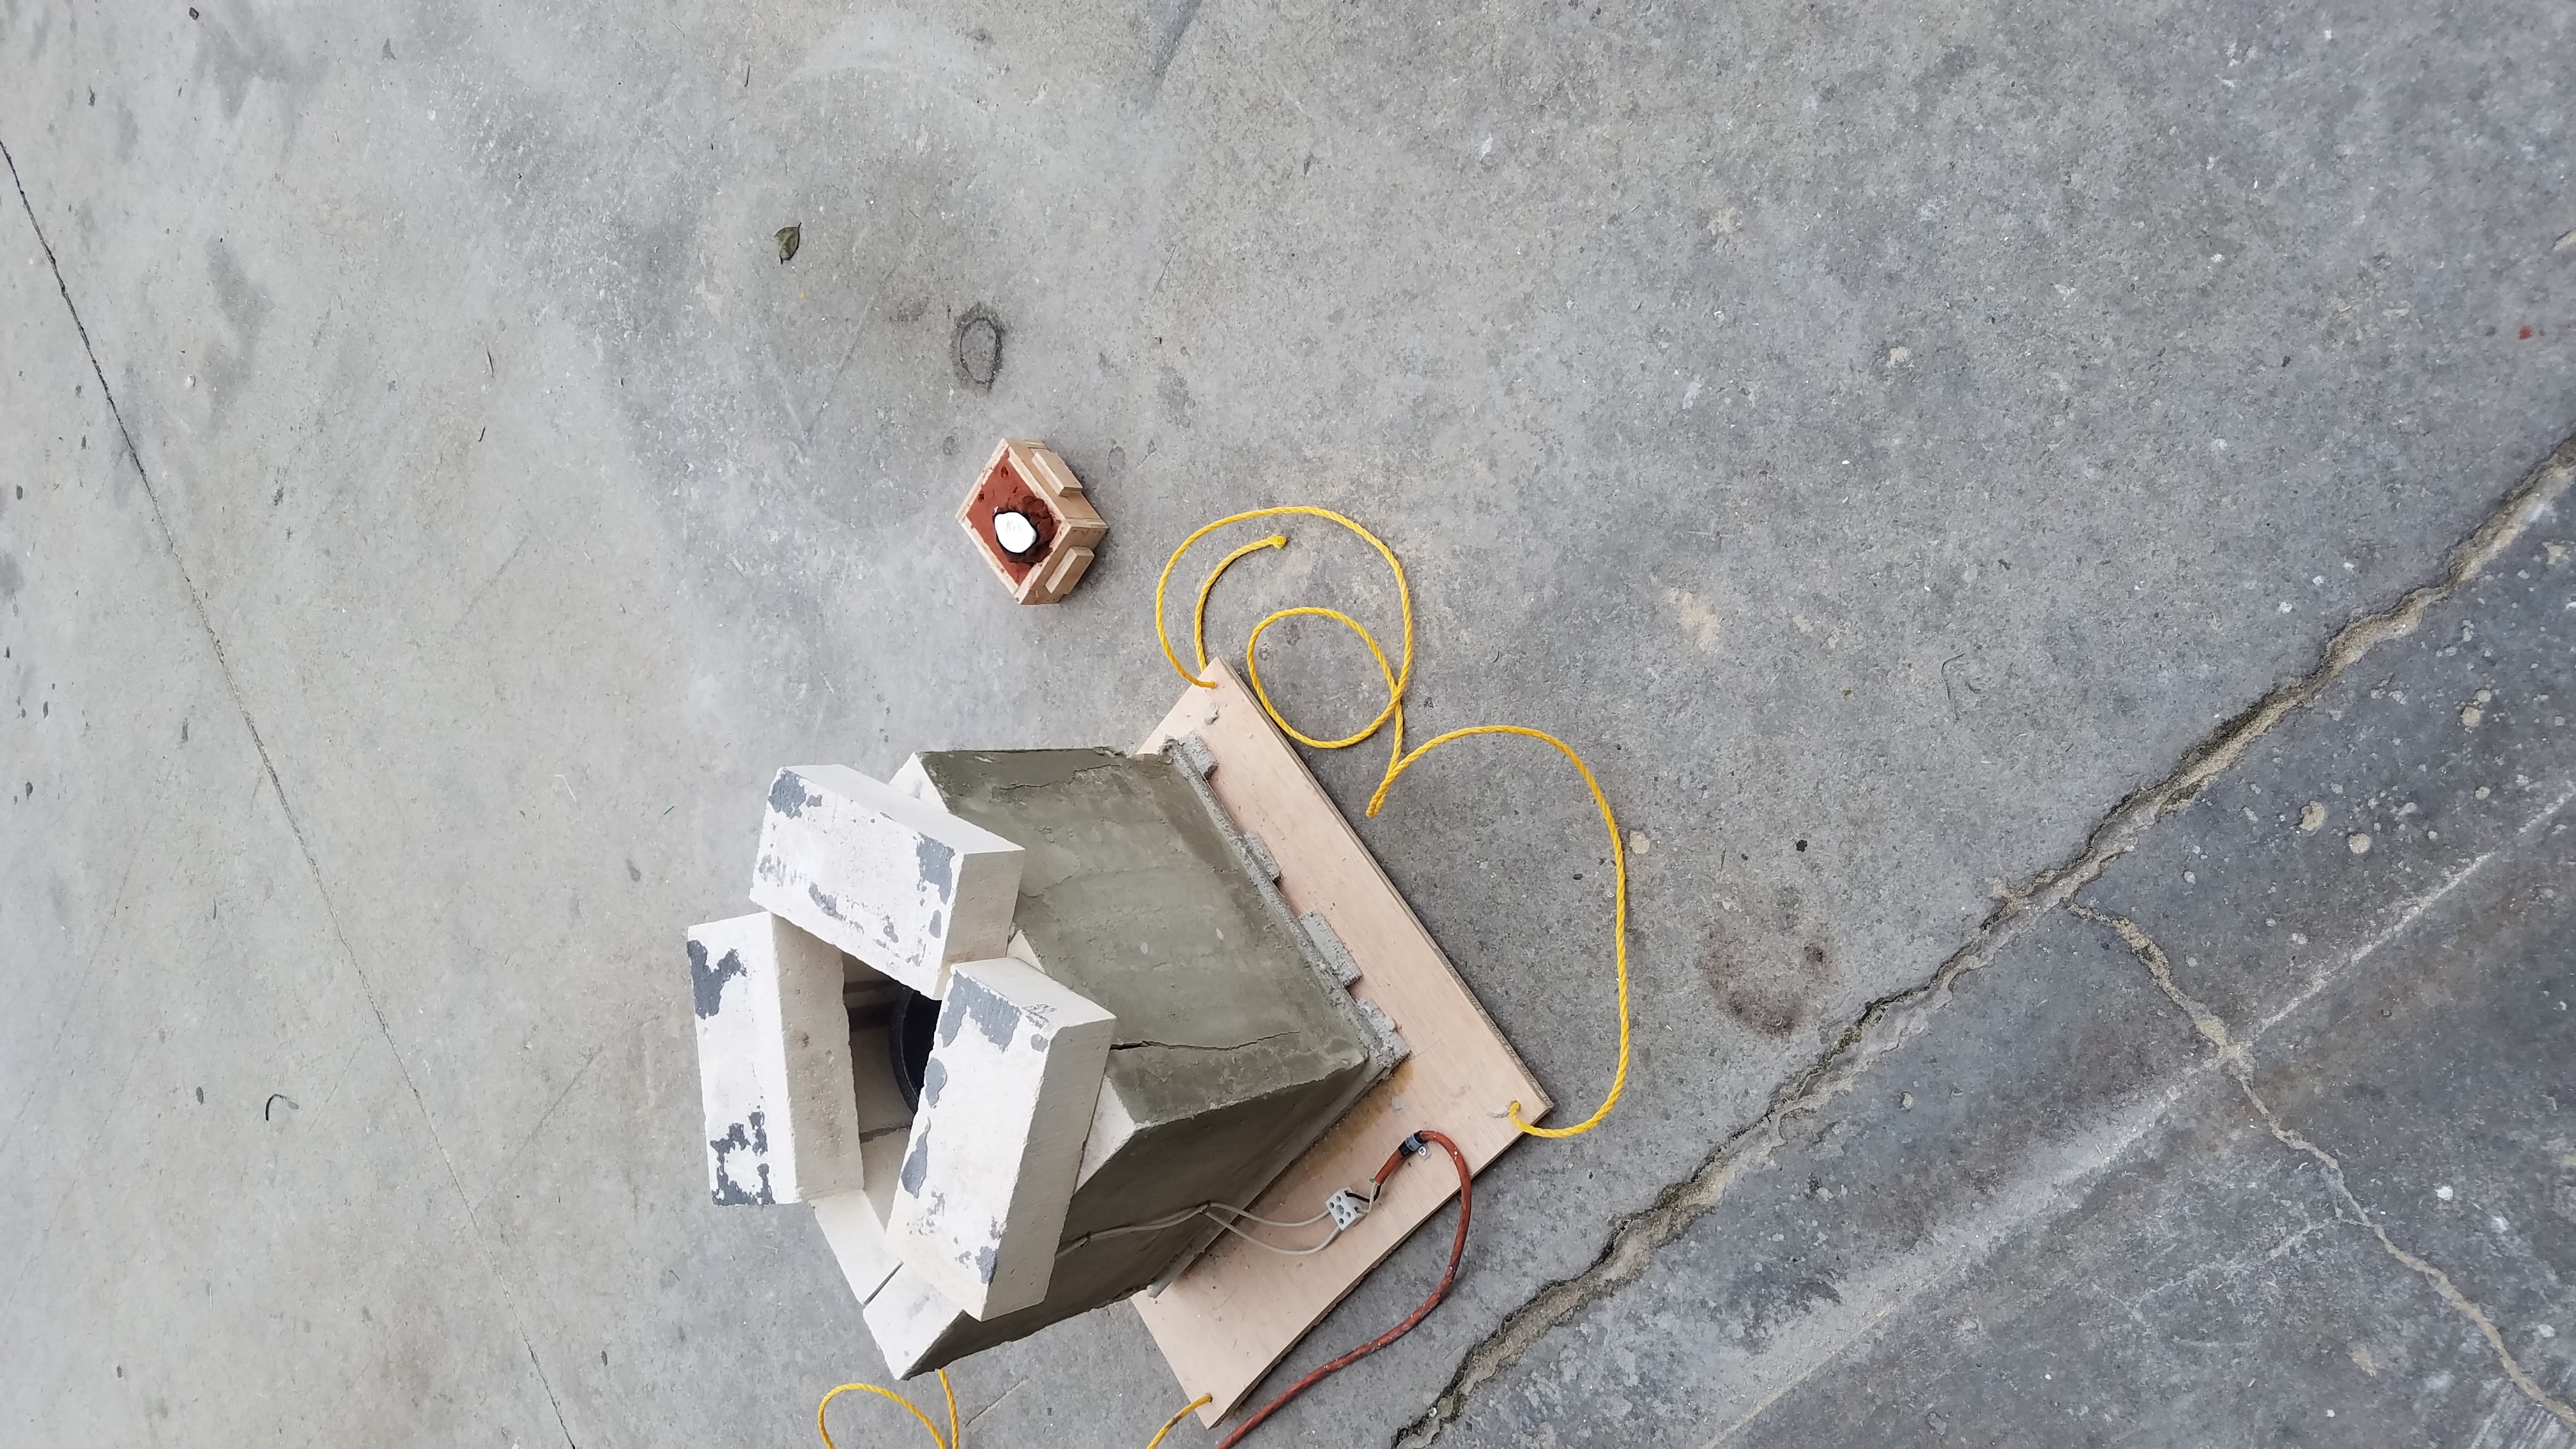
Here is my oven that I made. It gets pretty Hot.
Conclusions on first attempts. Sand casting can make type 1 low tolerance items. If I practice more I’m sure I can make items that will need further machining to finish them or parts that will not have any significant mechanical interaction. I’ve even seen lost foam pours into buckets of playground sand on you tube that looked very decent. For low precision work lost foam or wax molds from plaster can make decent items quickly and cheaply.
Moving On…
Now I was getting upset and worried I would not be able to make the parts I wanted. I knew I needed to exert pressure on the aluminum so I finally stumbled upon vacuum casting.
My previous mistakes and experience helped me tremendously. Instead of foam I ordered some machinable wax. I was recommended tooling board but tooling board is kind of a pain to come by and use.
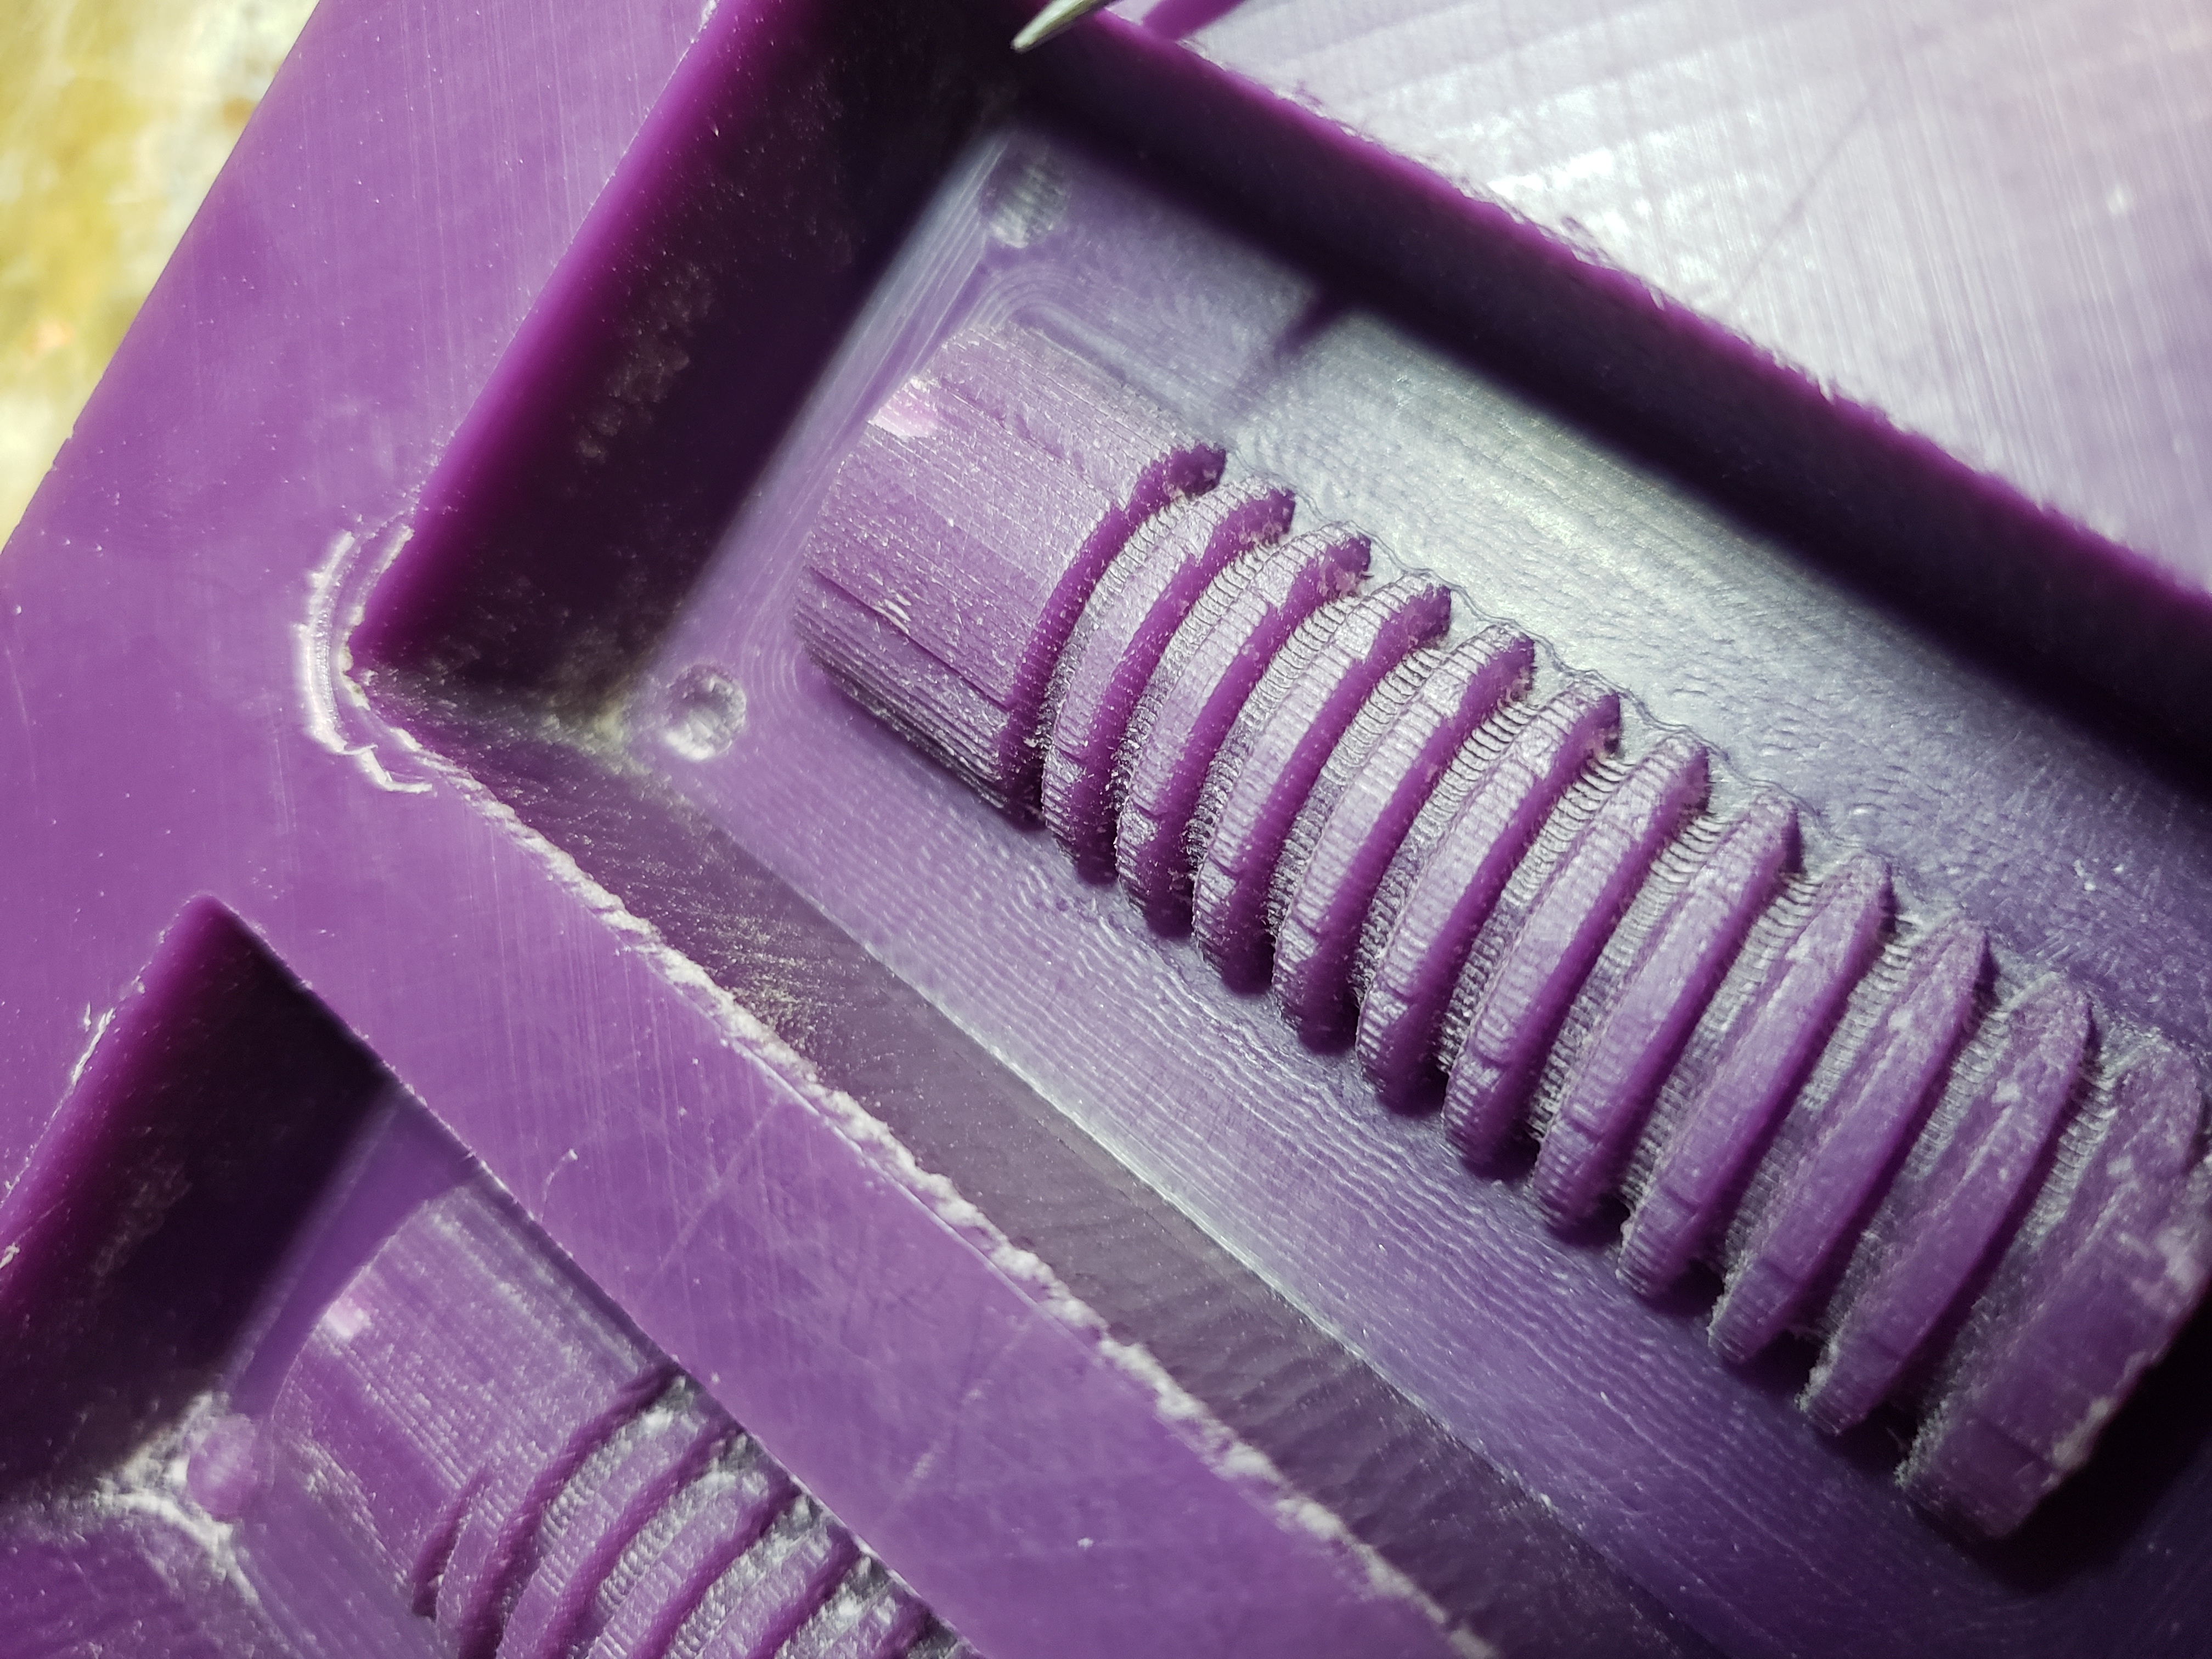
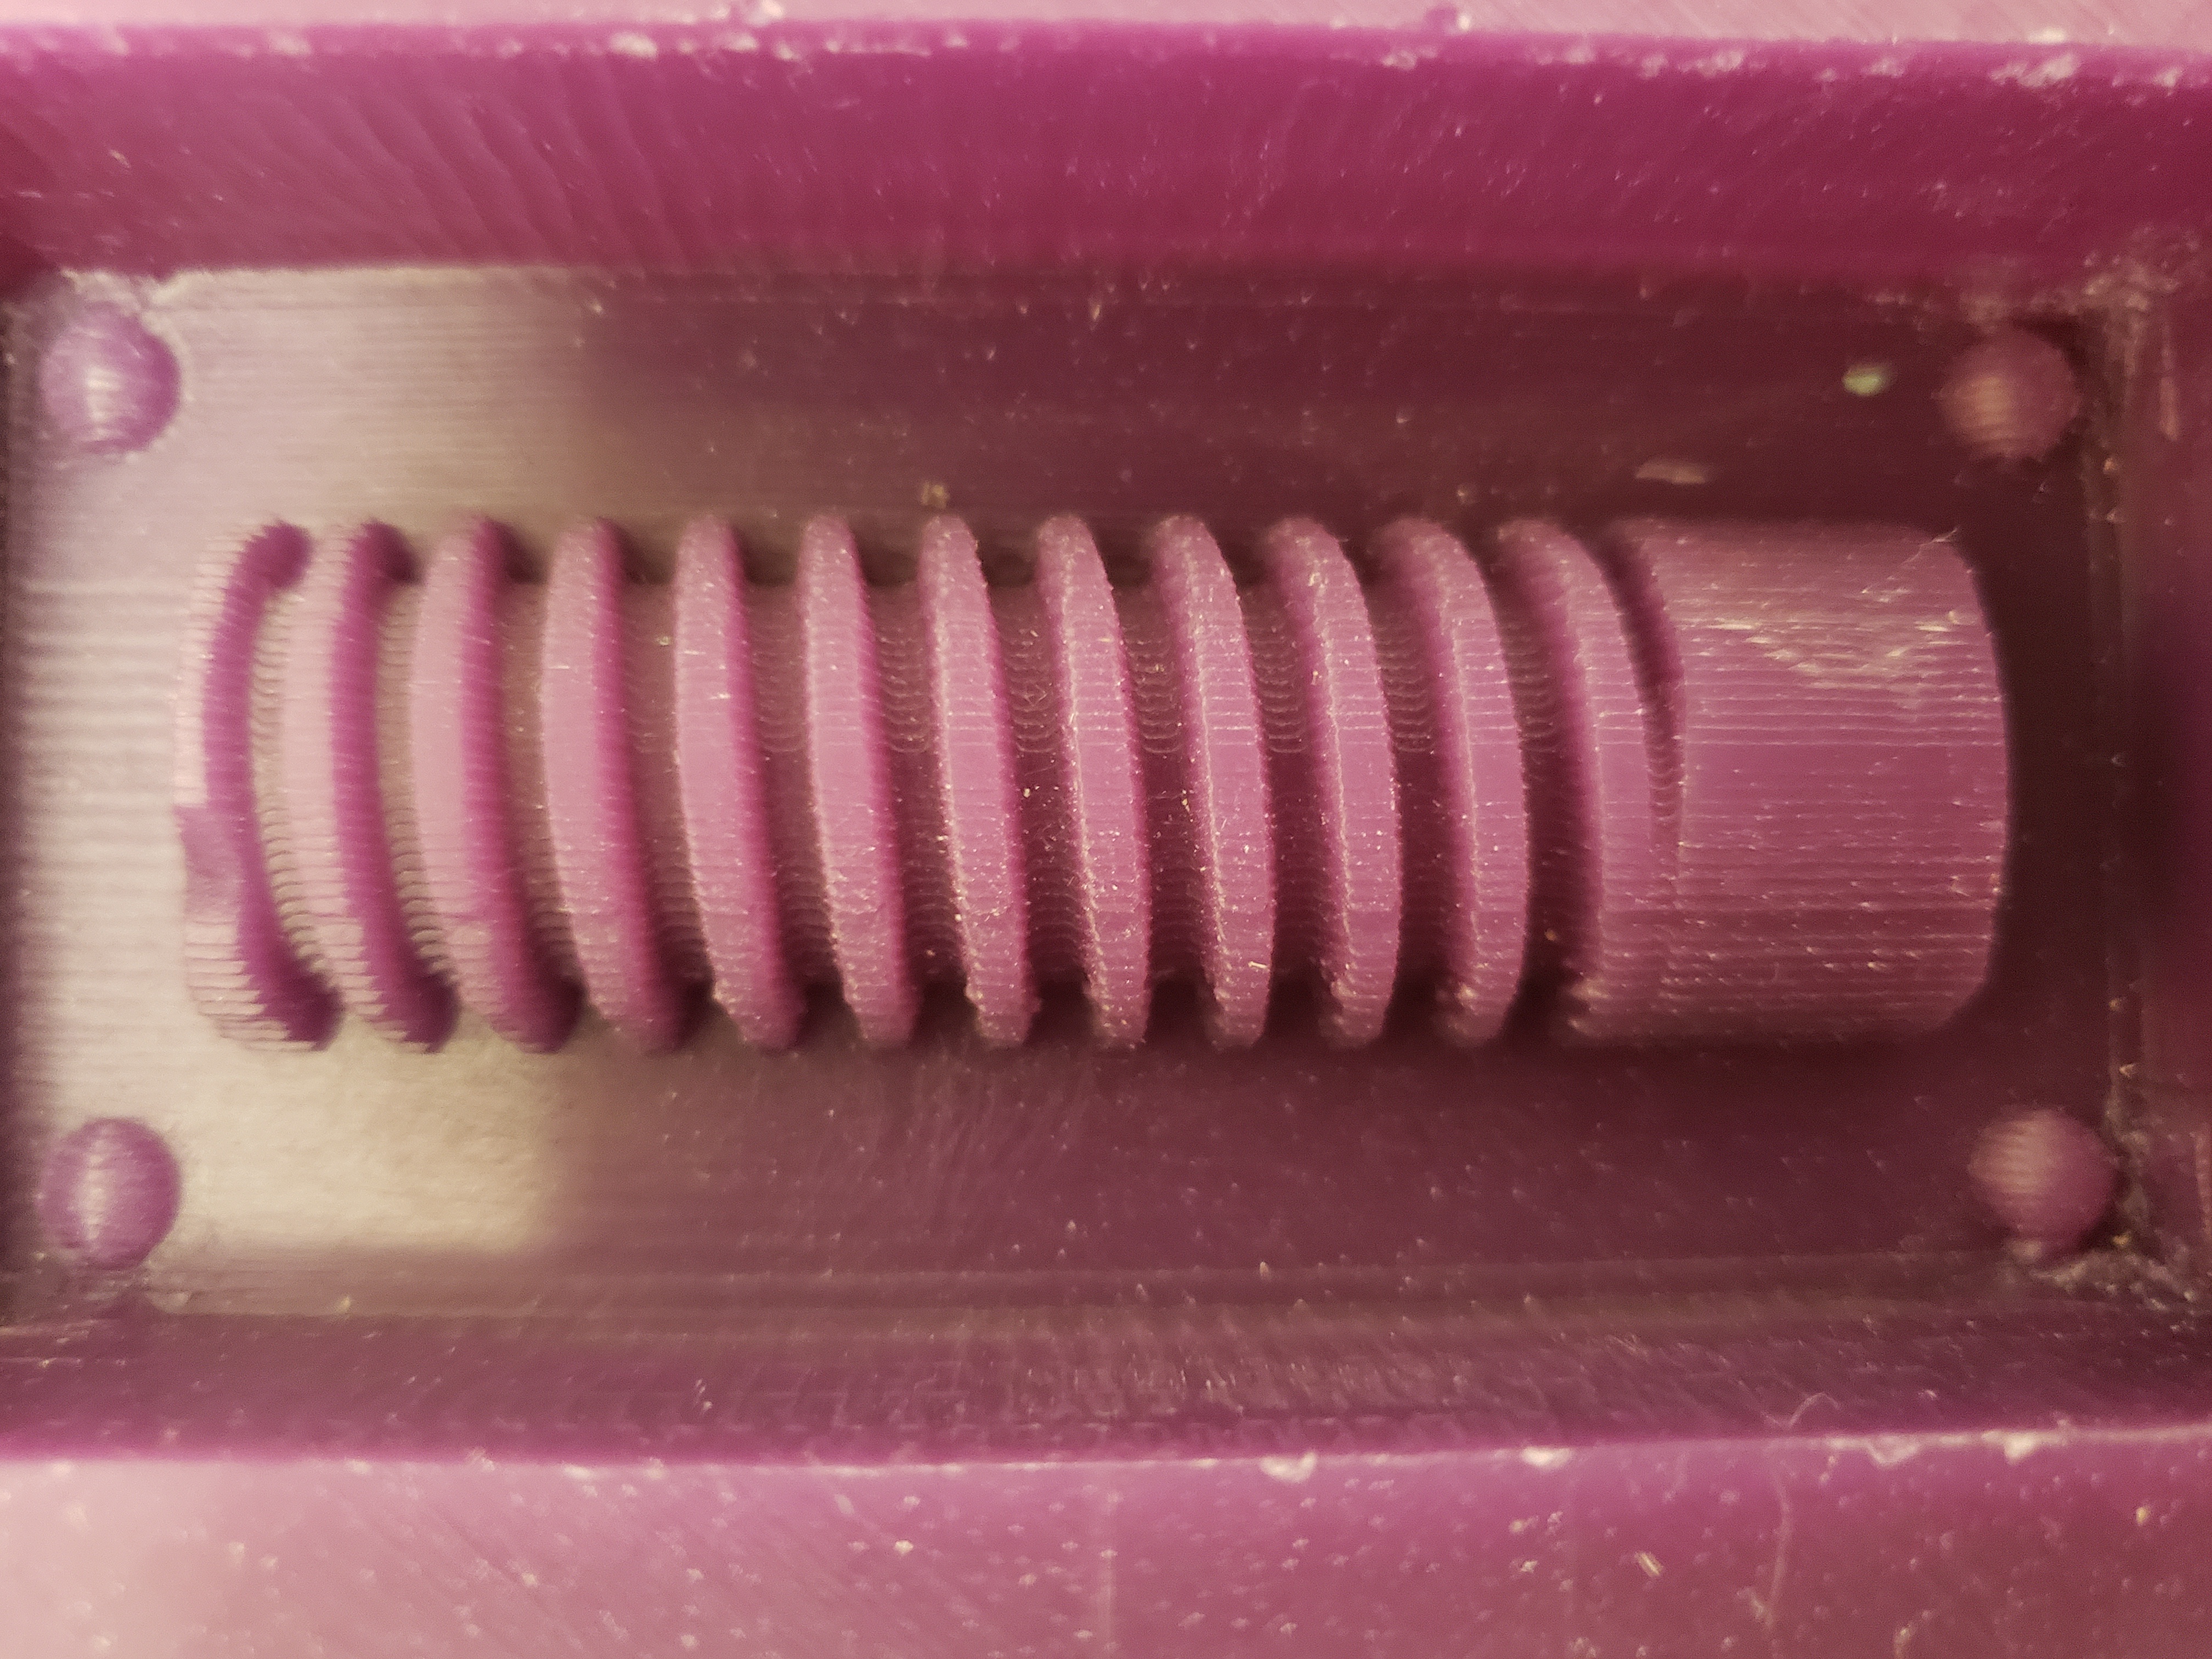
Below I’m machining each half of the worm just as I did in foam except I’m using a tool change to speed it up and I also widened the cavity and added some reference keys so the negative if these would mate.
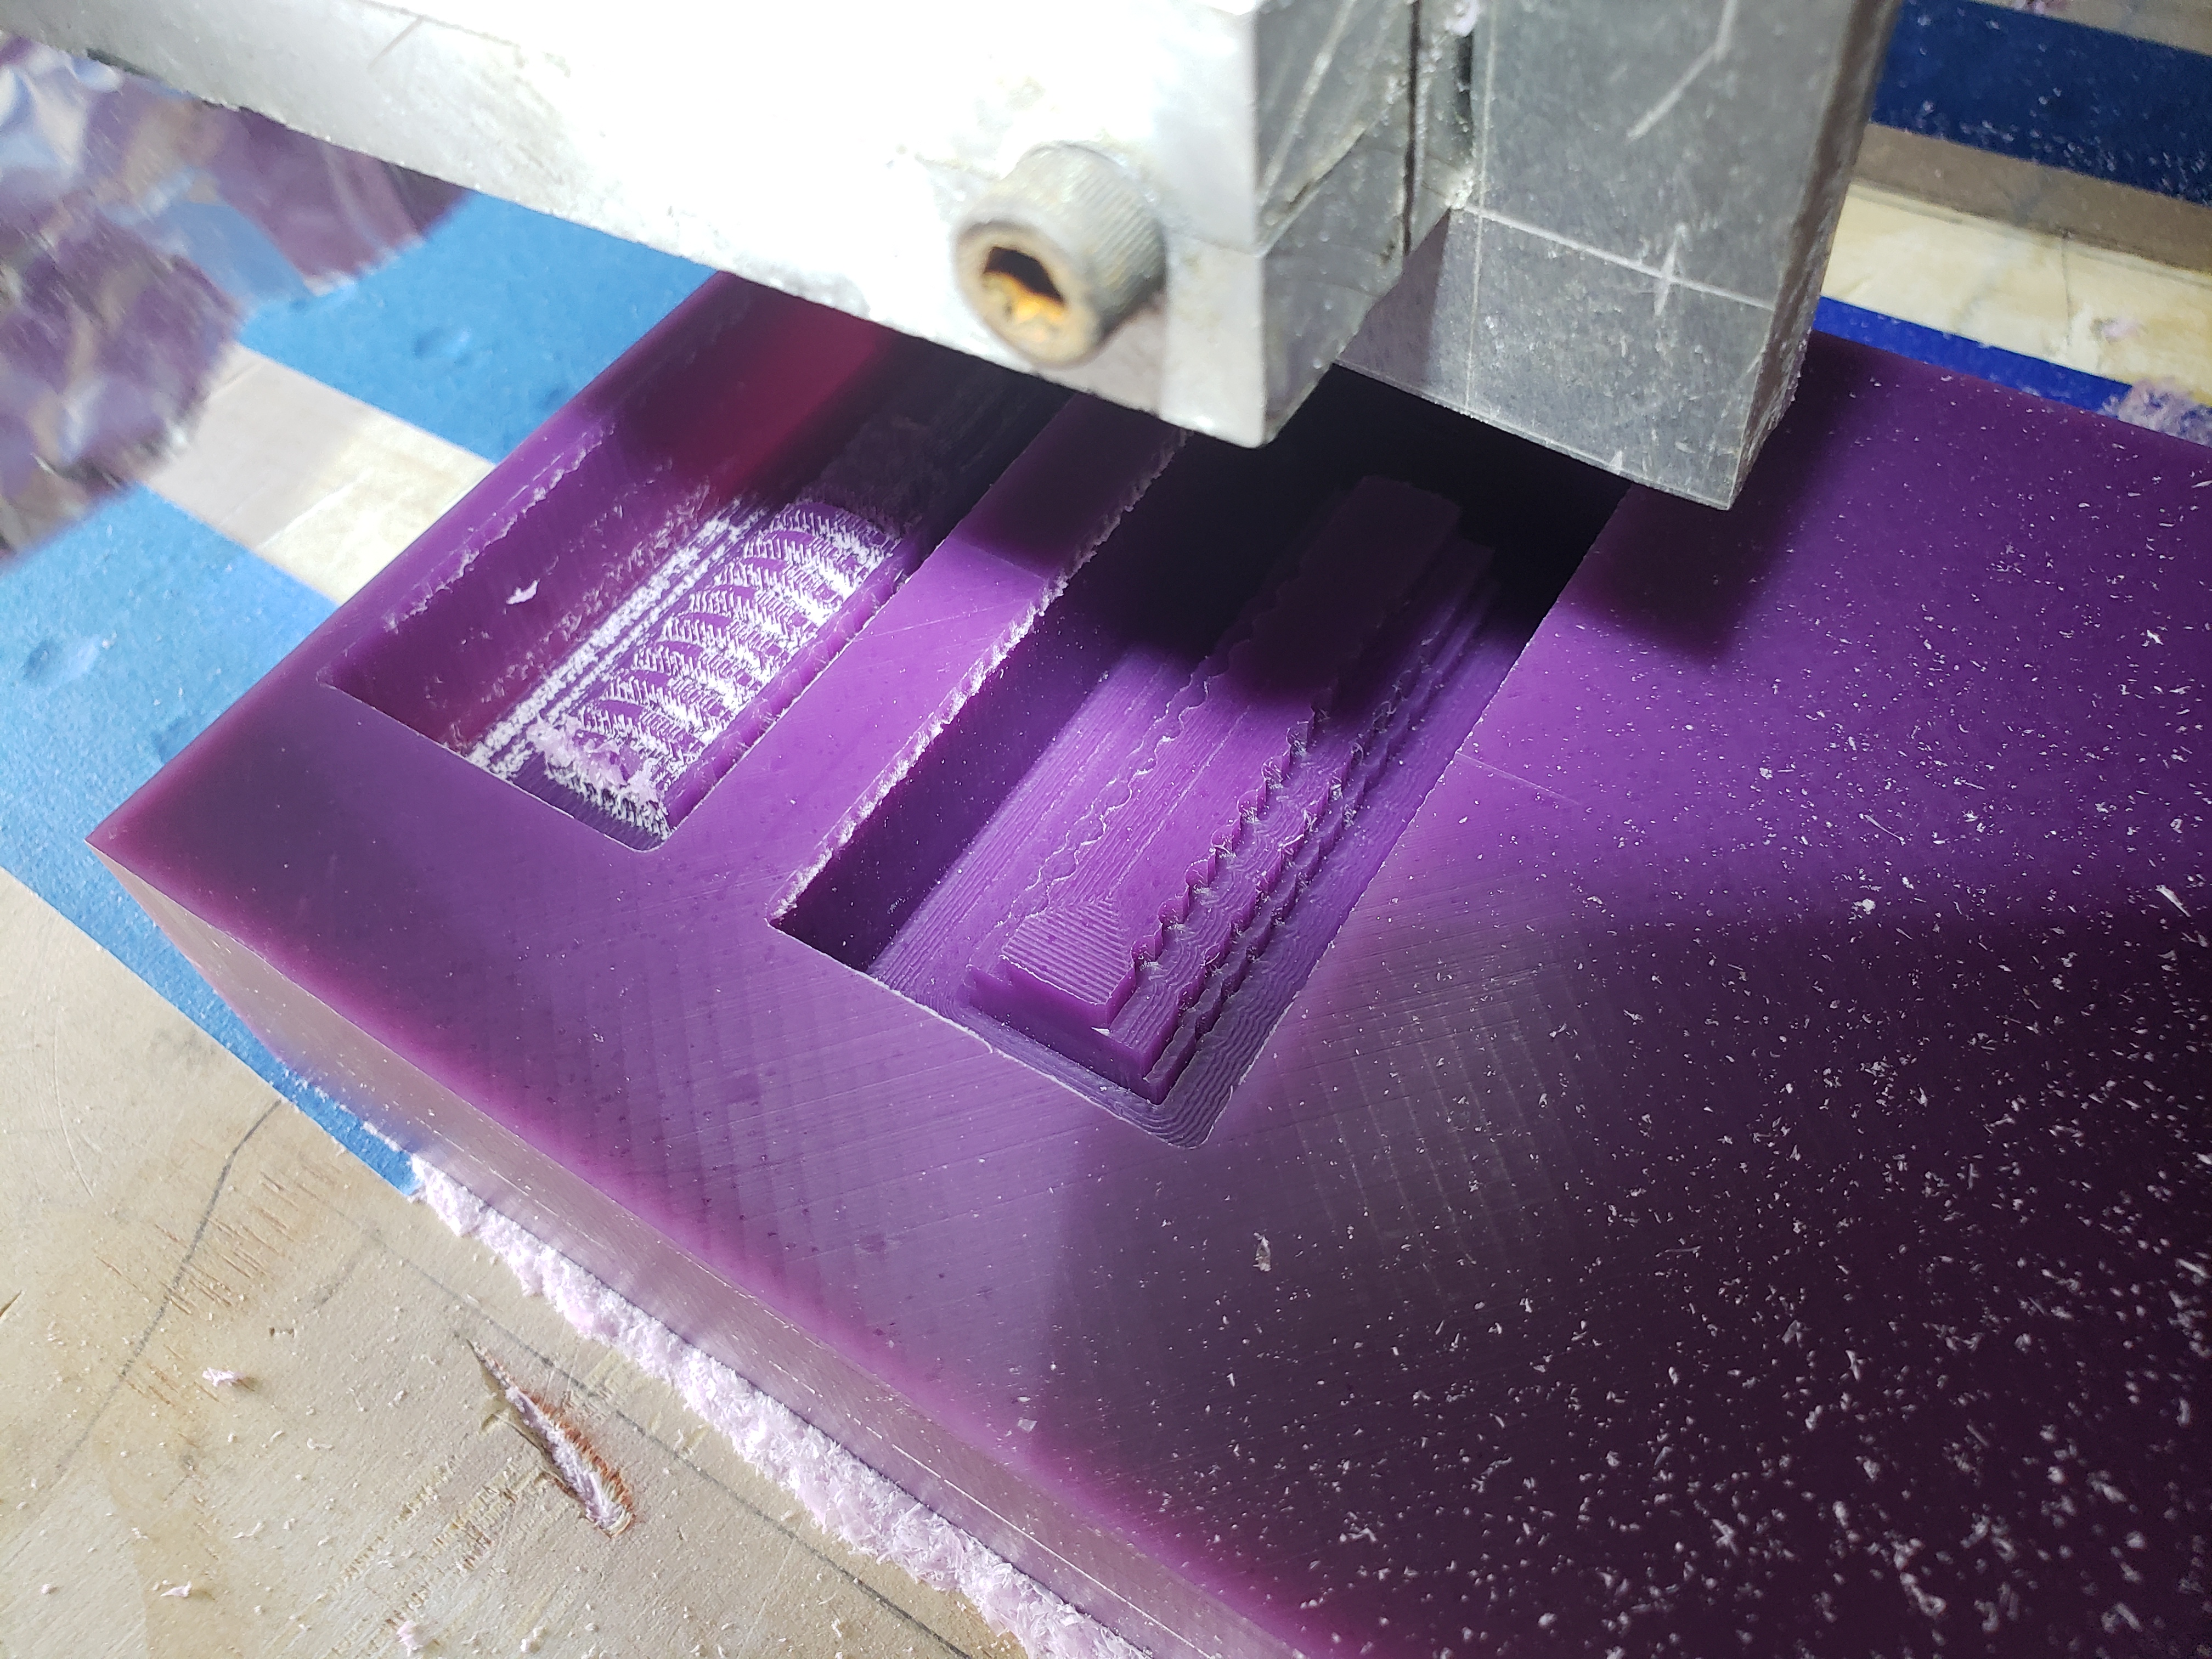
See the bumps and reverse female sections. Not sure what that big line was about! I used a flat 1mm end mill and the result is very rough. But I will continue with this as the machining lines will make great reference details to compare to my final pour.
Next I poured a two part silicon into each cavity. This is a A45 silicon so its harder and less flexible version than most you will run across prima facie. I could probably stand to increase that number a bit as well.
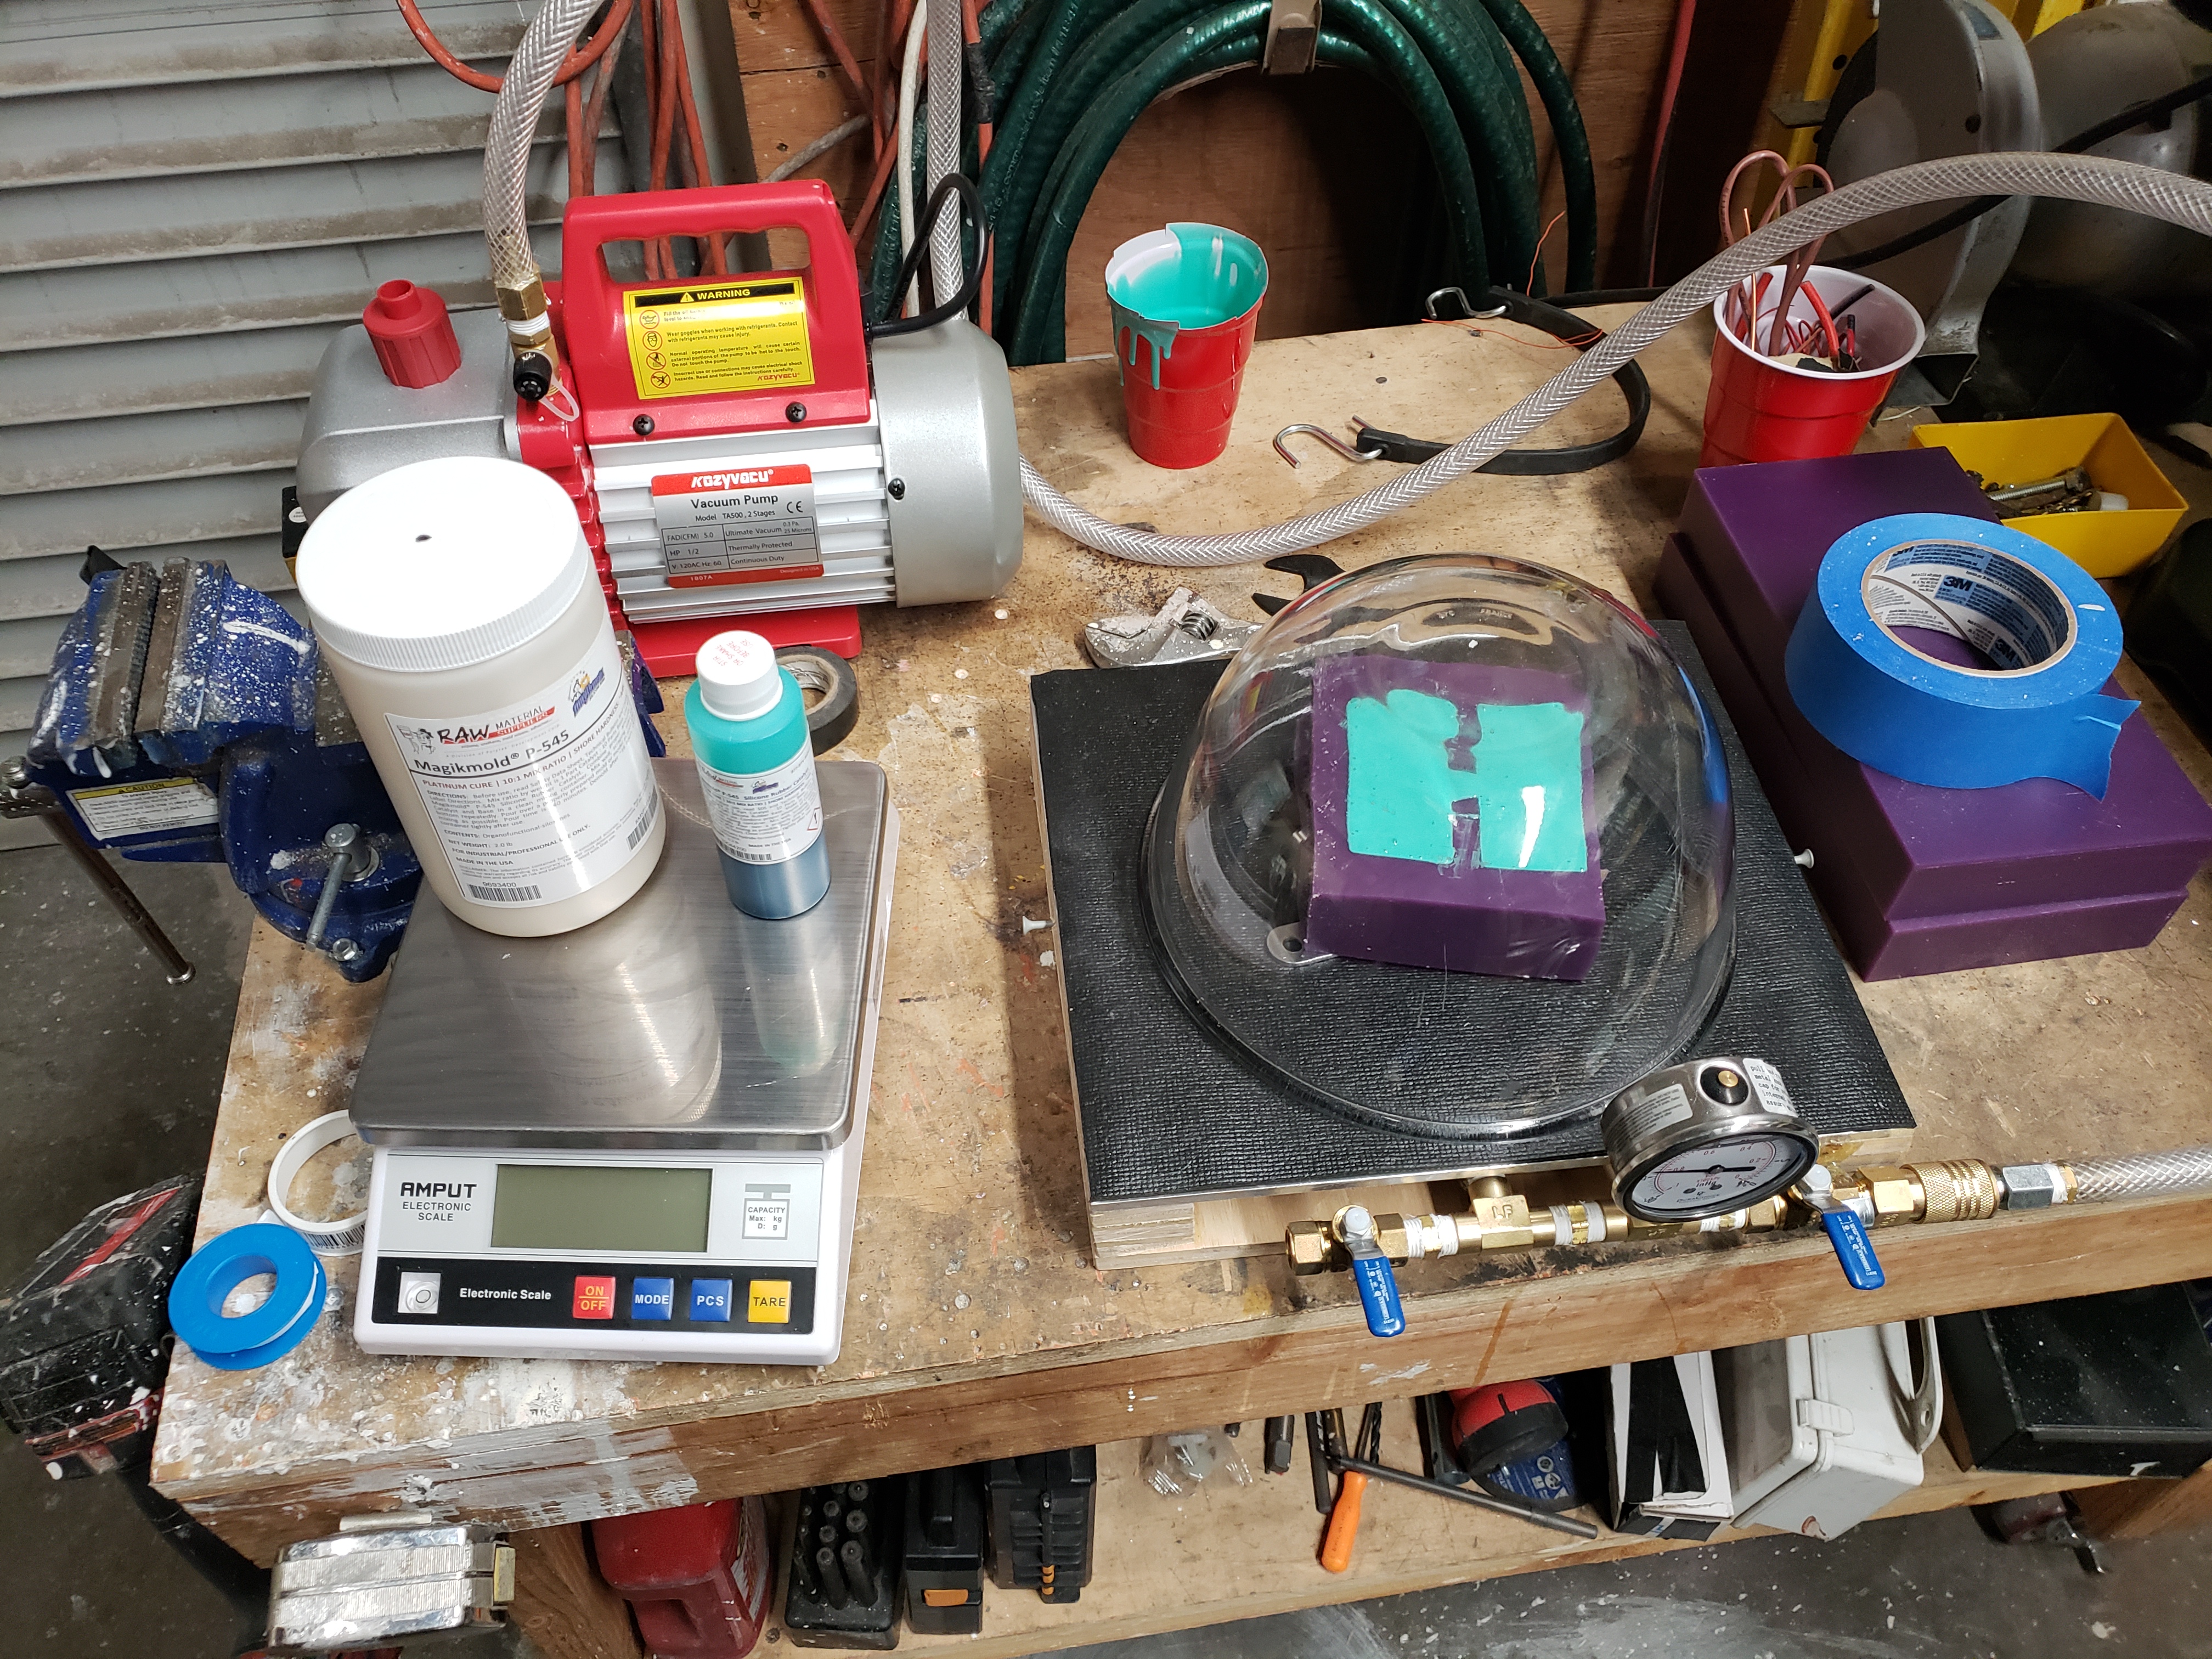
Here is my setup. I mixed the silicone on my lab scale. I built the vacuum chamber to degass my materials. After mixing I put the red cup in and degassed till the bubbles were evacuated. Then I poured them into the wax molds. Then, once again I degassed silicone in the mold and locked the chamber for maybe 10 minutes before bringing back to normal pressure.
This process resulted in a very successful silicon mold. Every detail was captured perfectly. Hooray!

Next I injected a jewelers wax into the mold. Once again I met a reasonable amount of success. I could find no difference between the initial machinable wax and this with the naked eye.
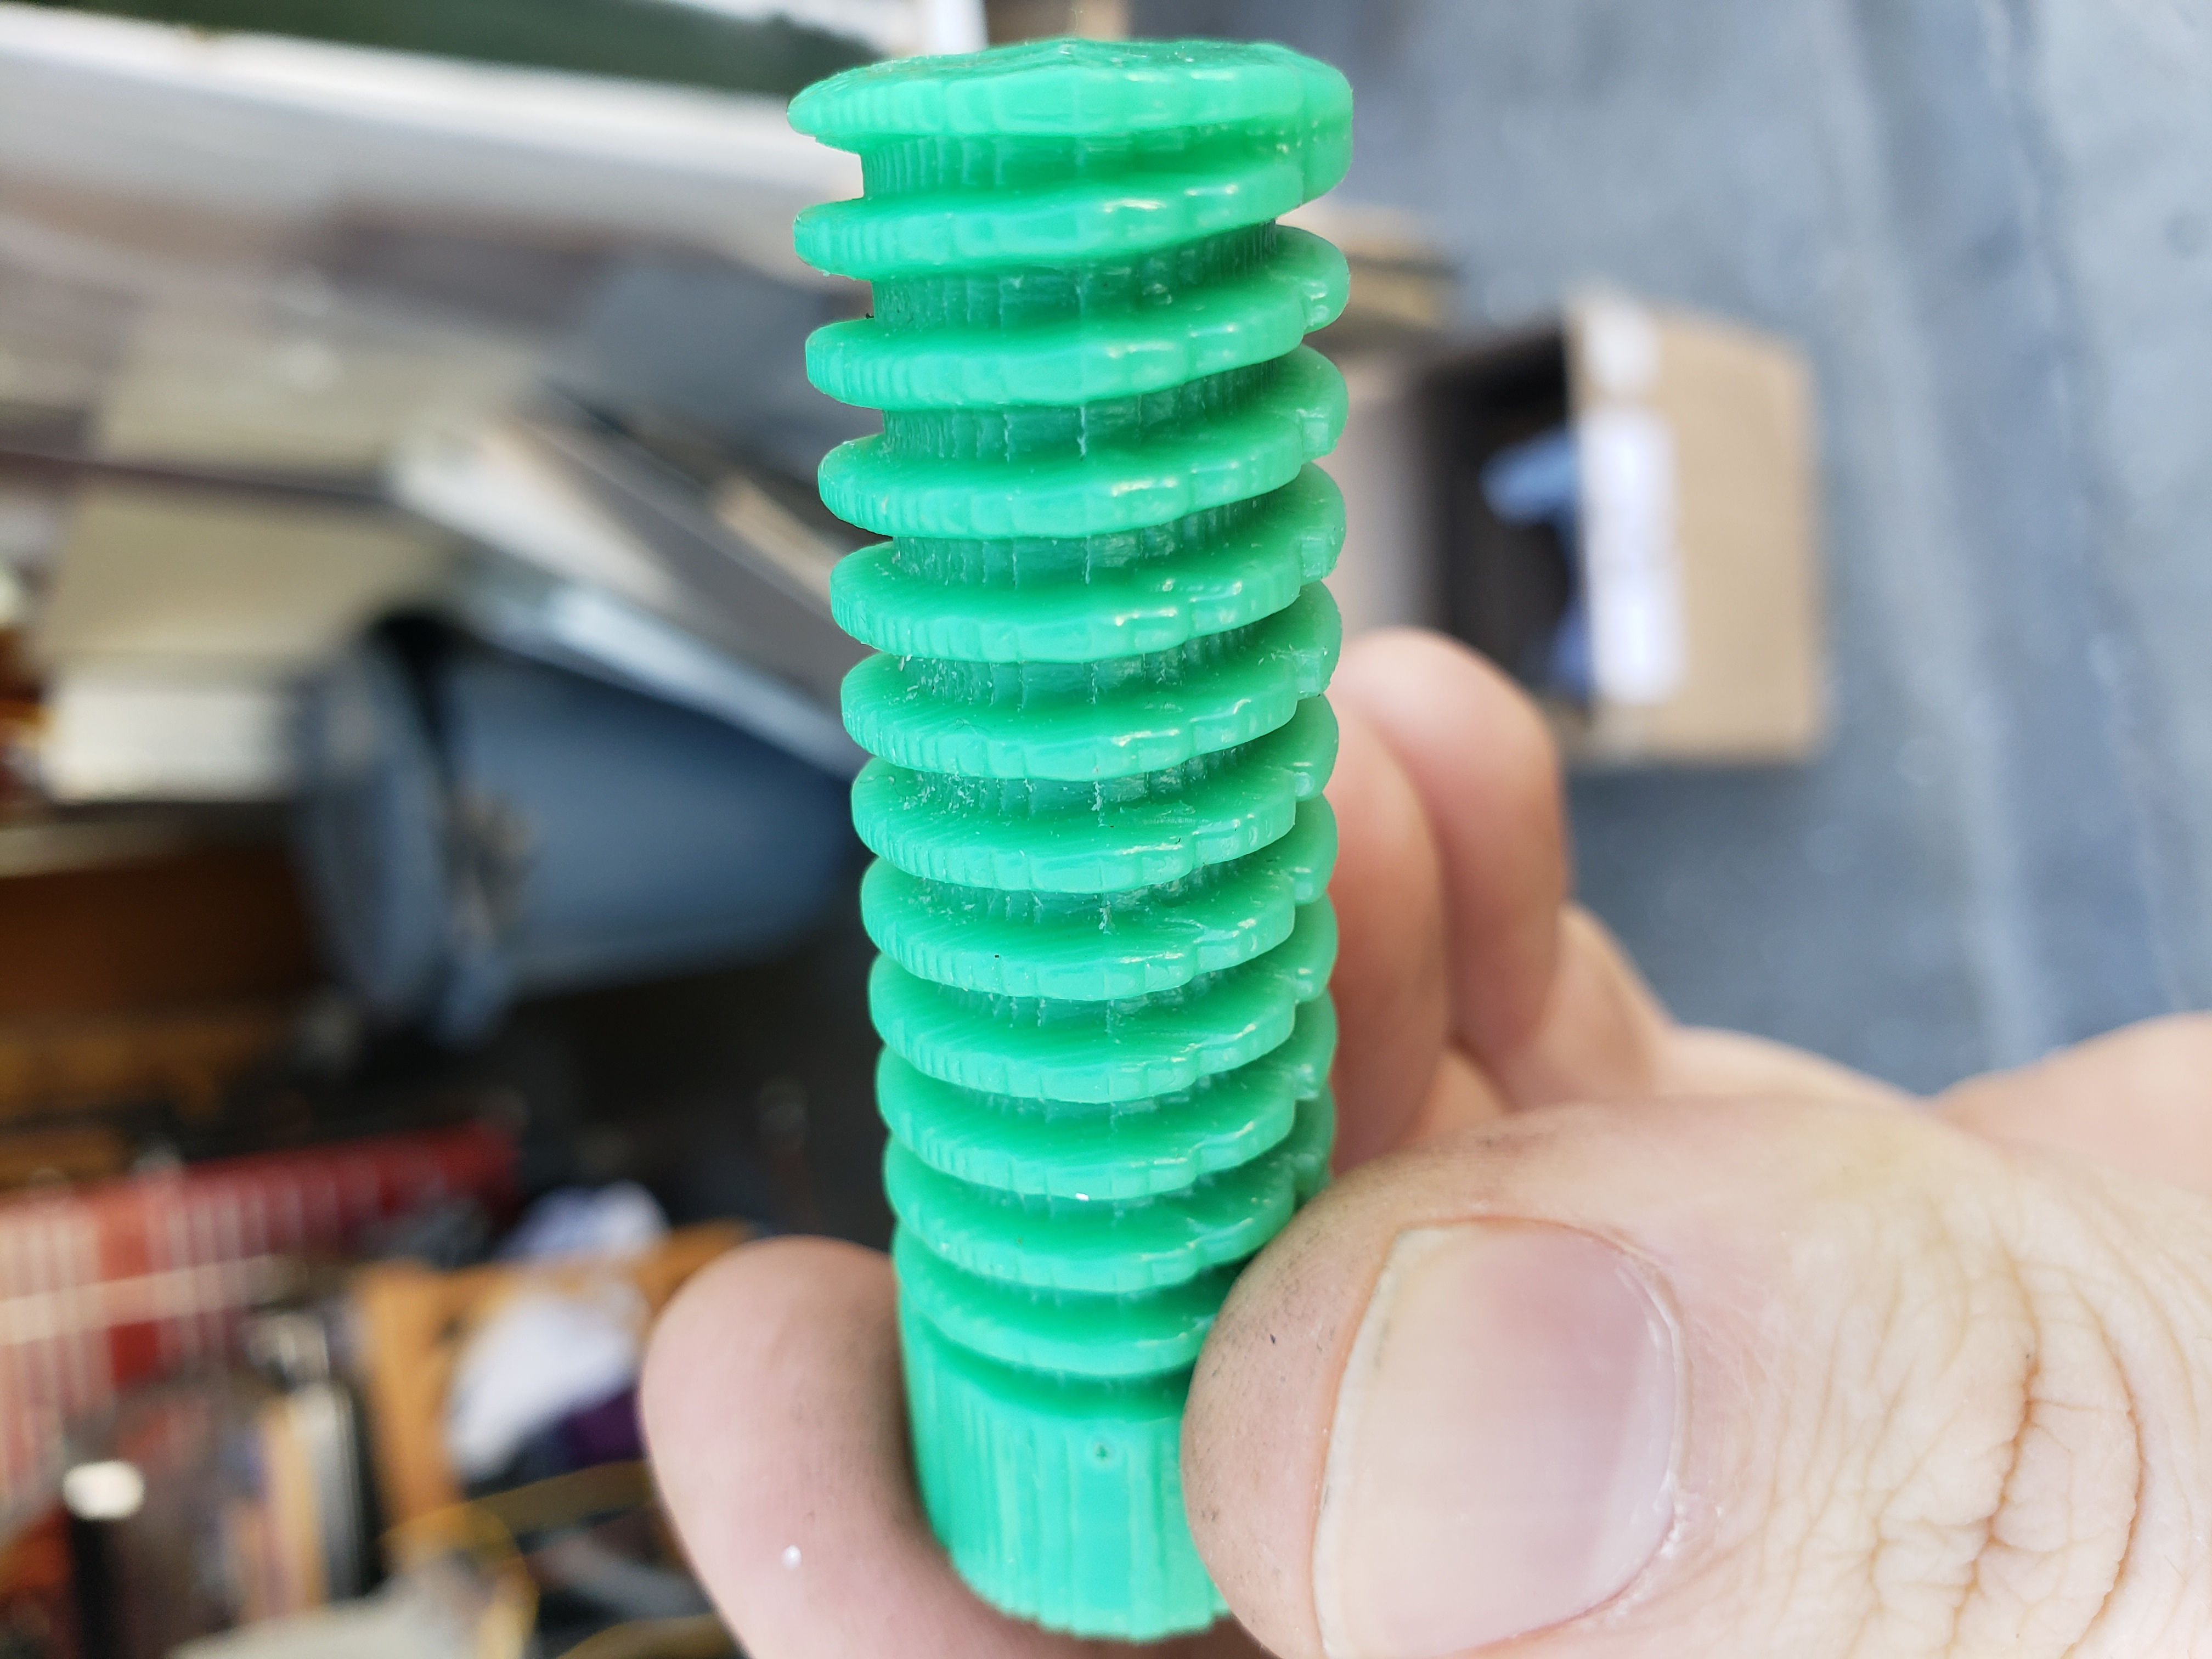
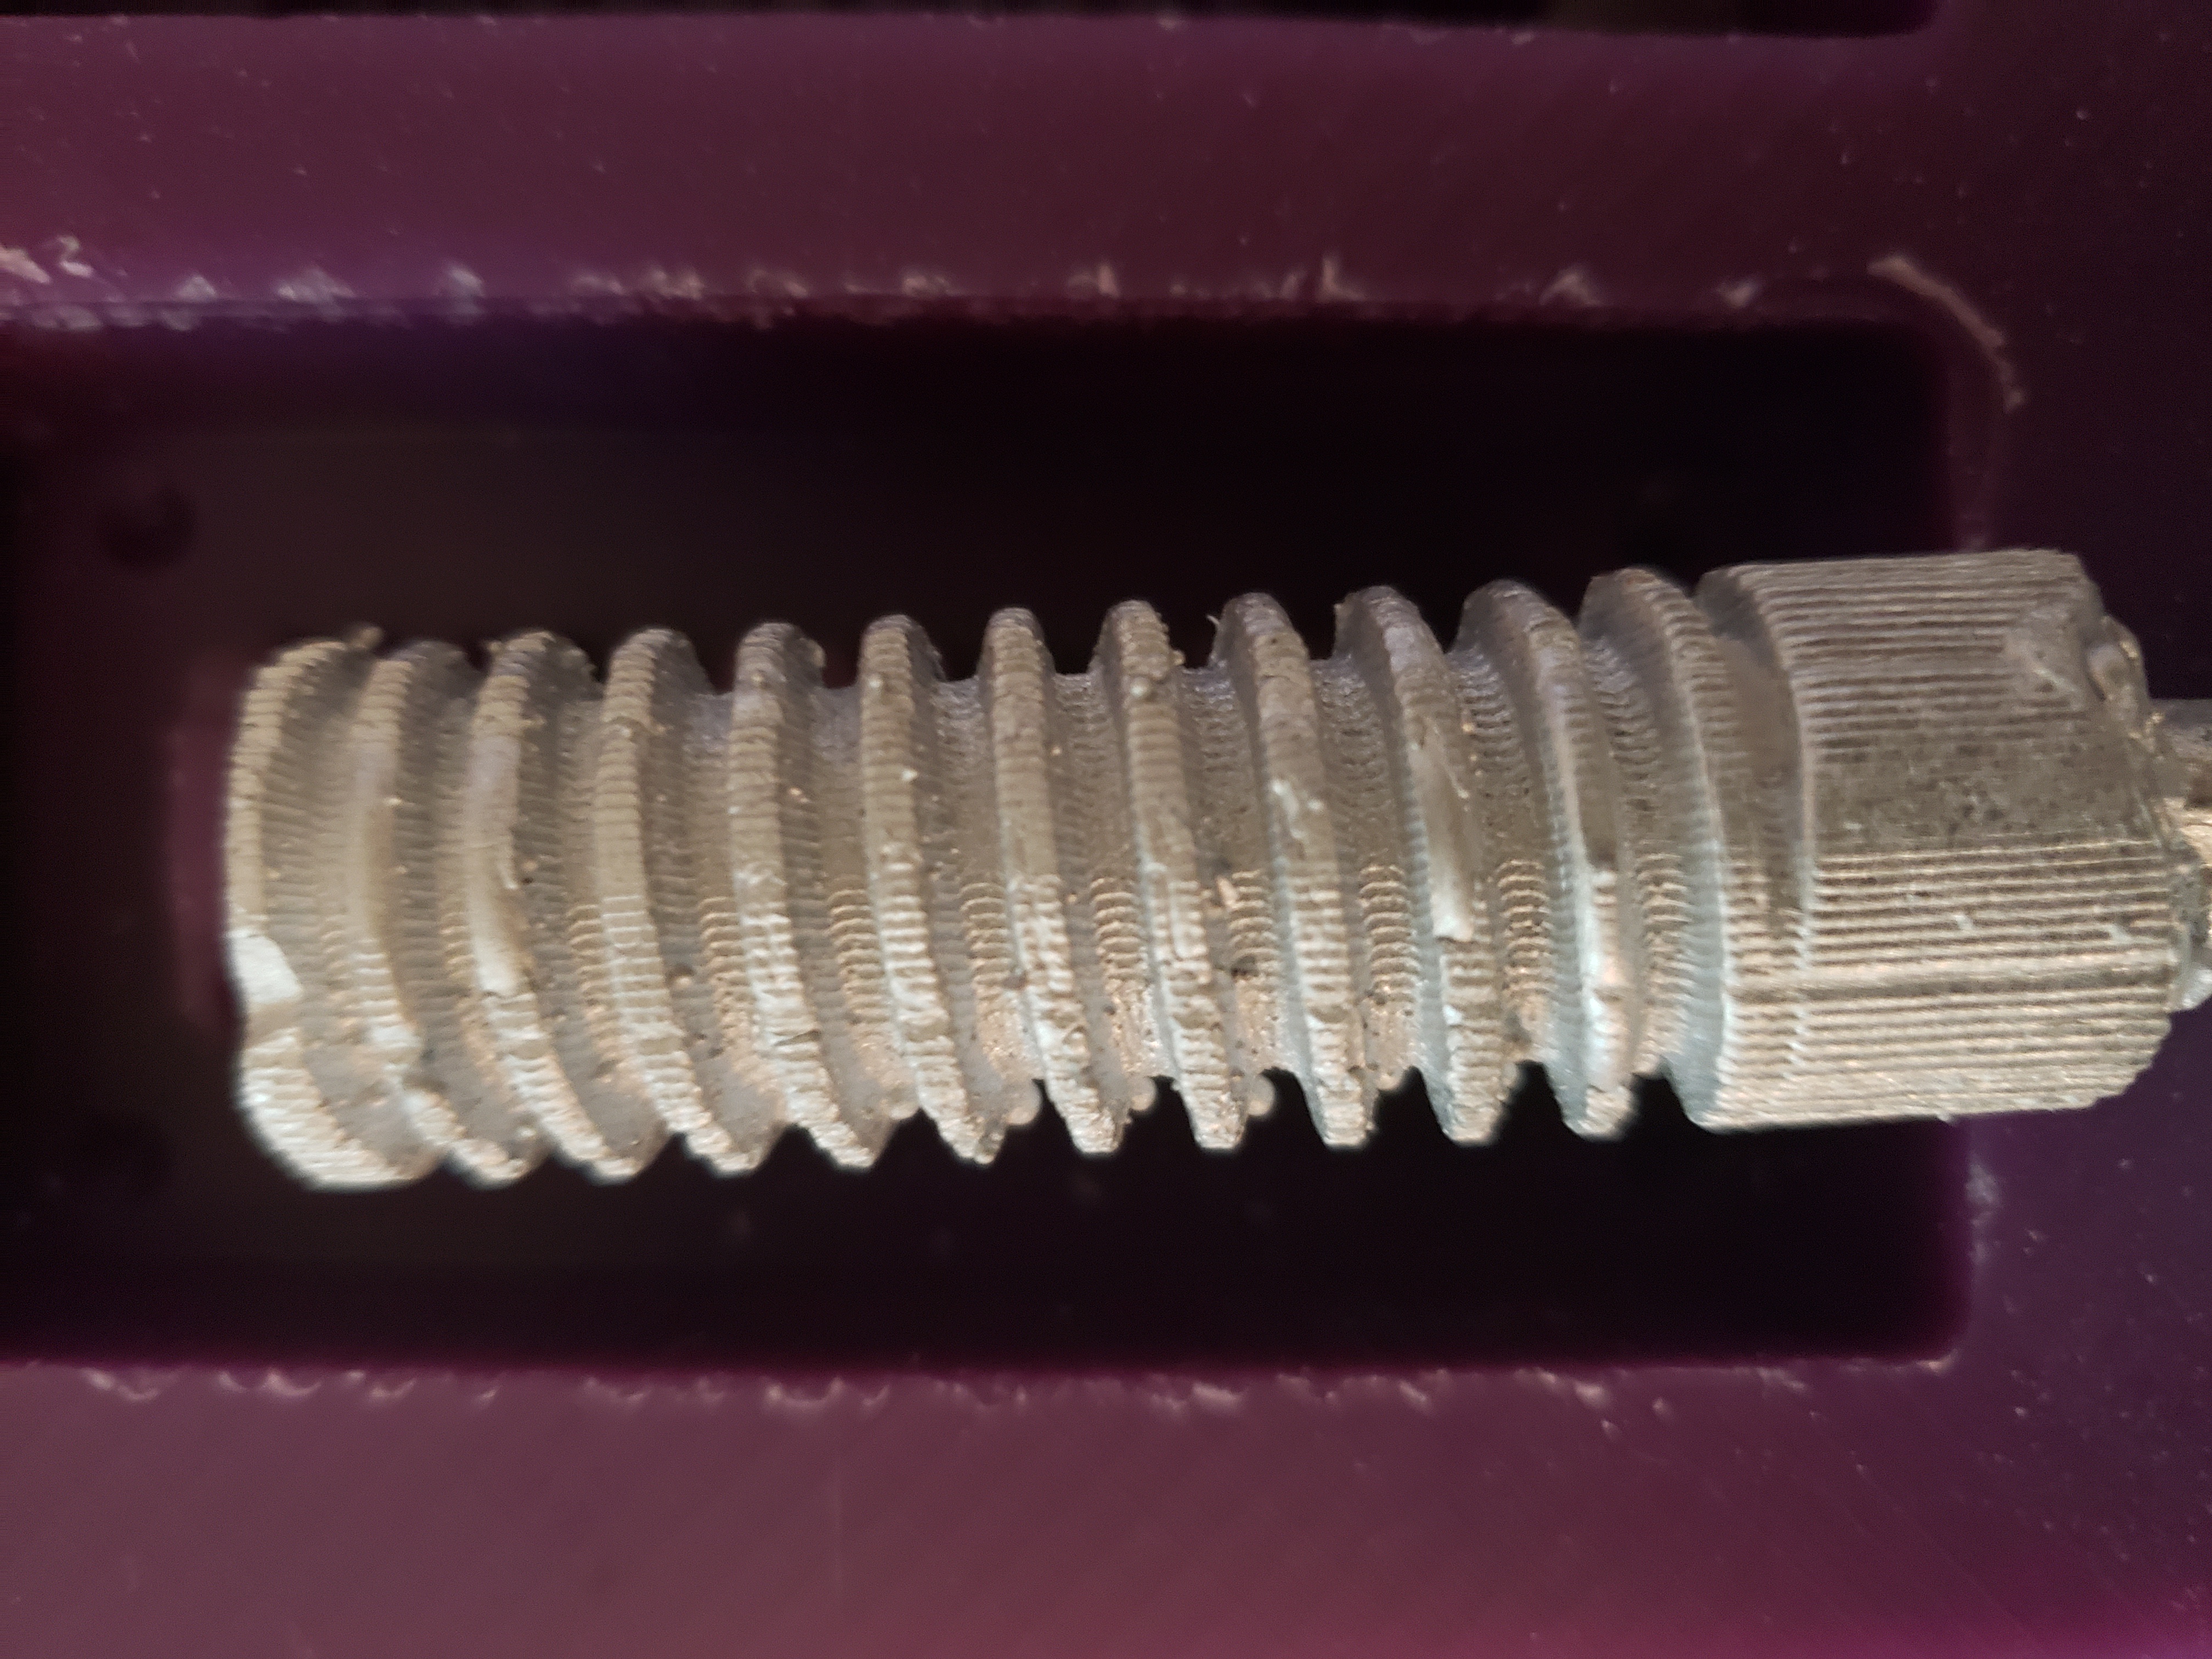
After that I forgot to take a few pictures. But basically I put this wax into a mold with a refractory plaster including degassing it twice. After loosing the wax and curing the mold I poured molten aluminum into the mold and quickly switched on the vacuum.
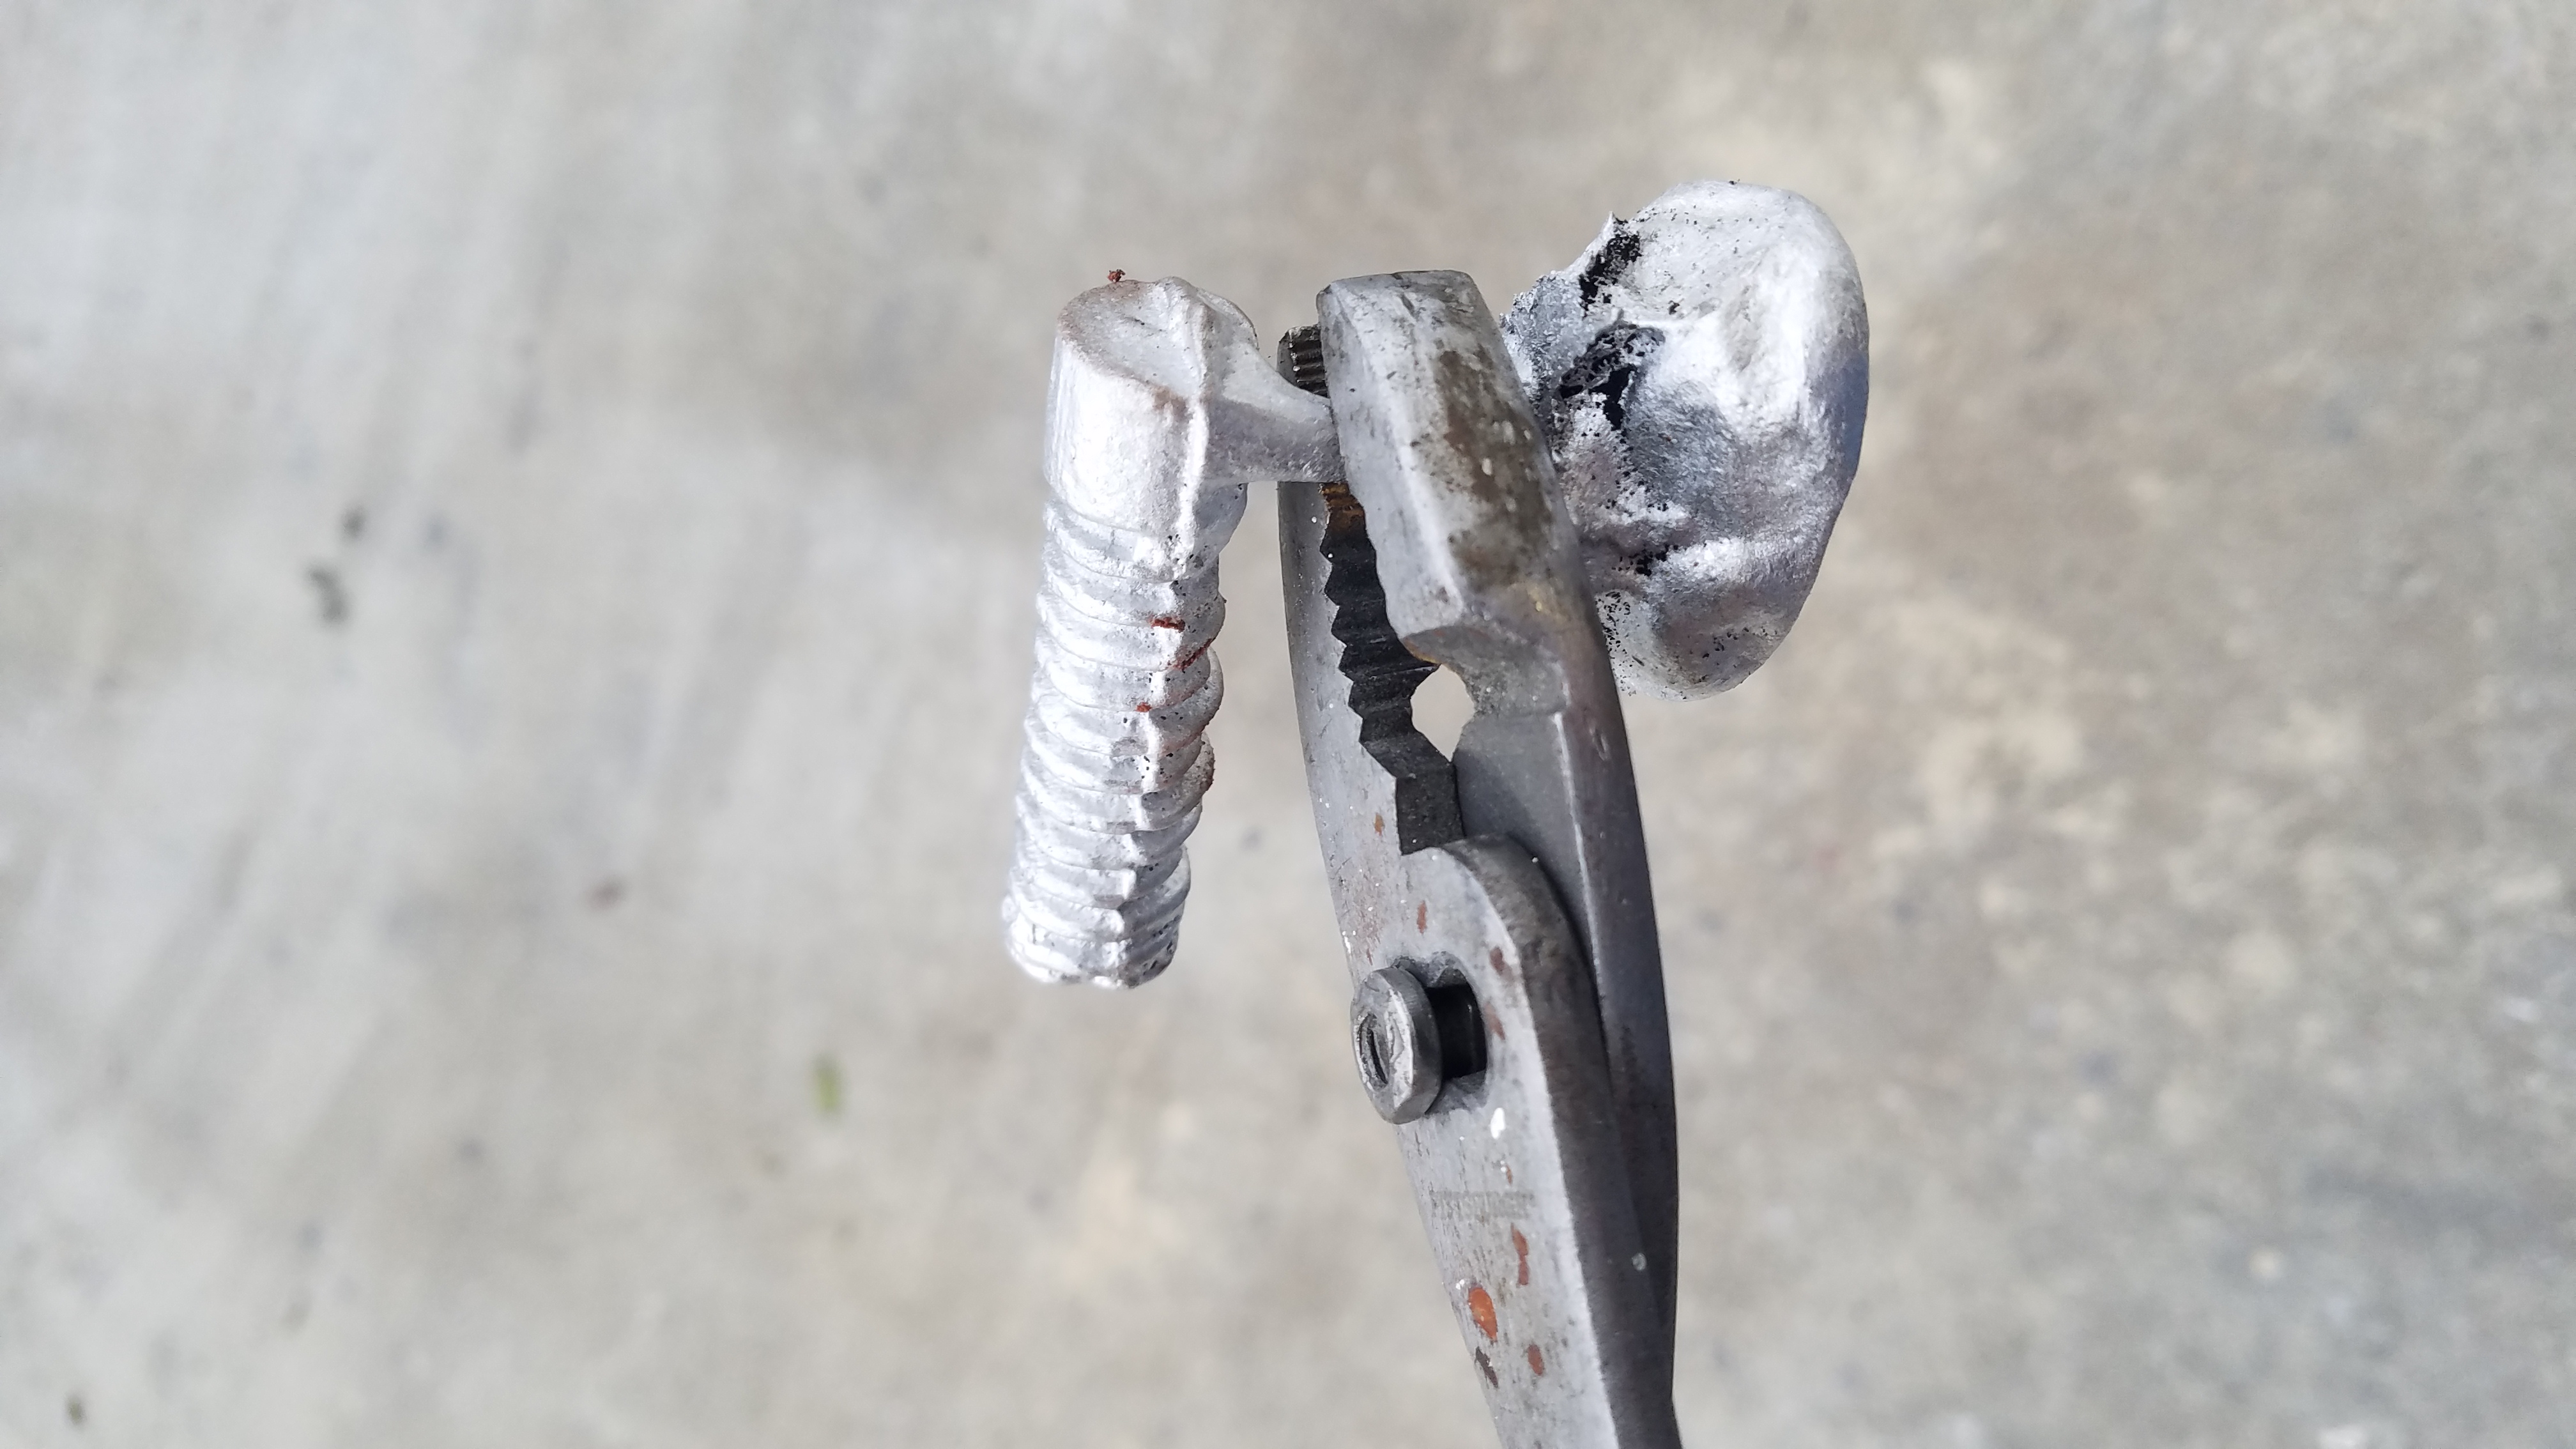
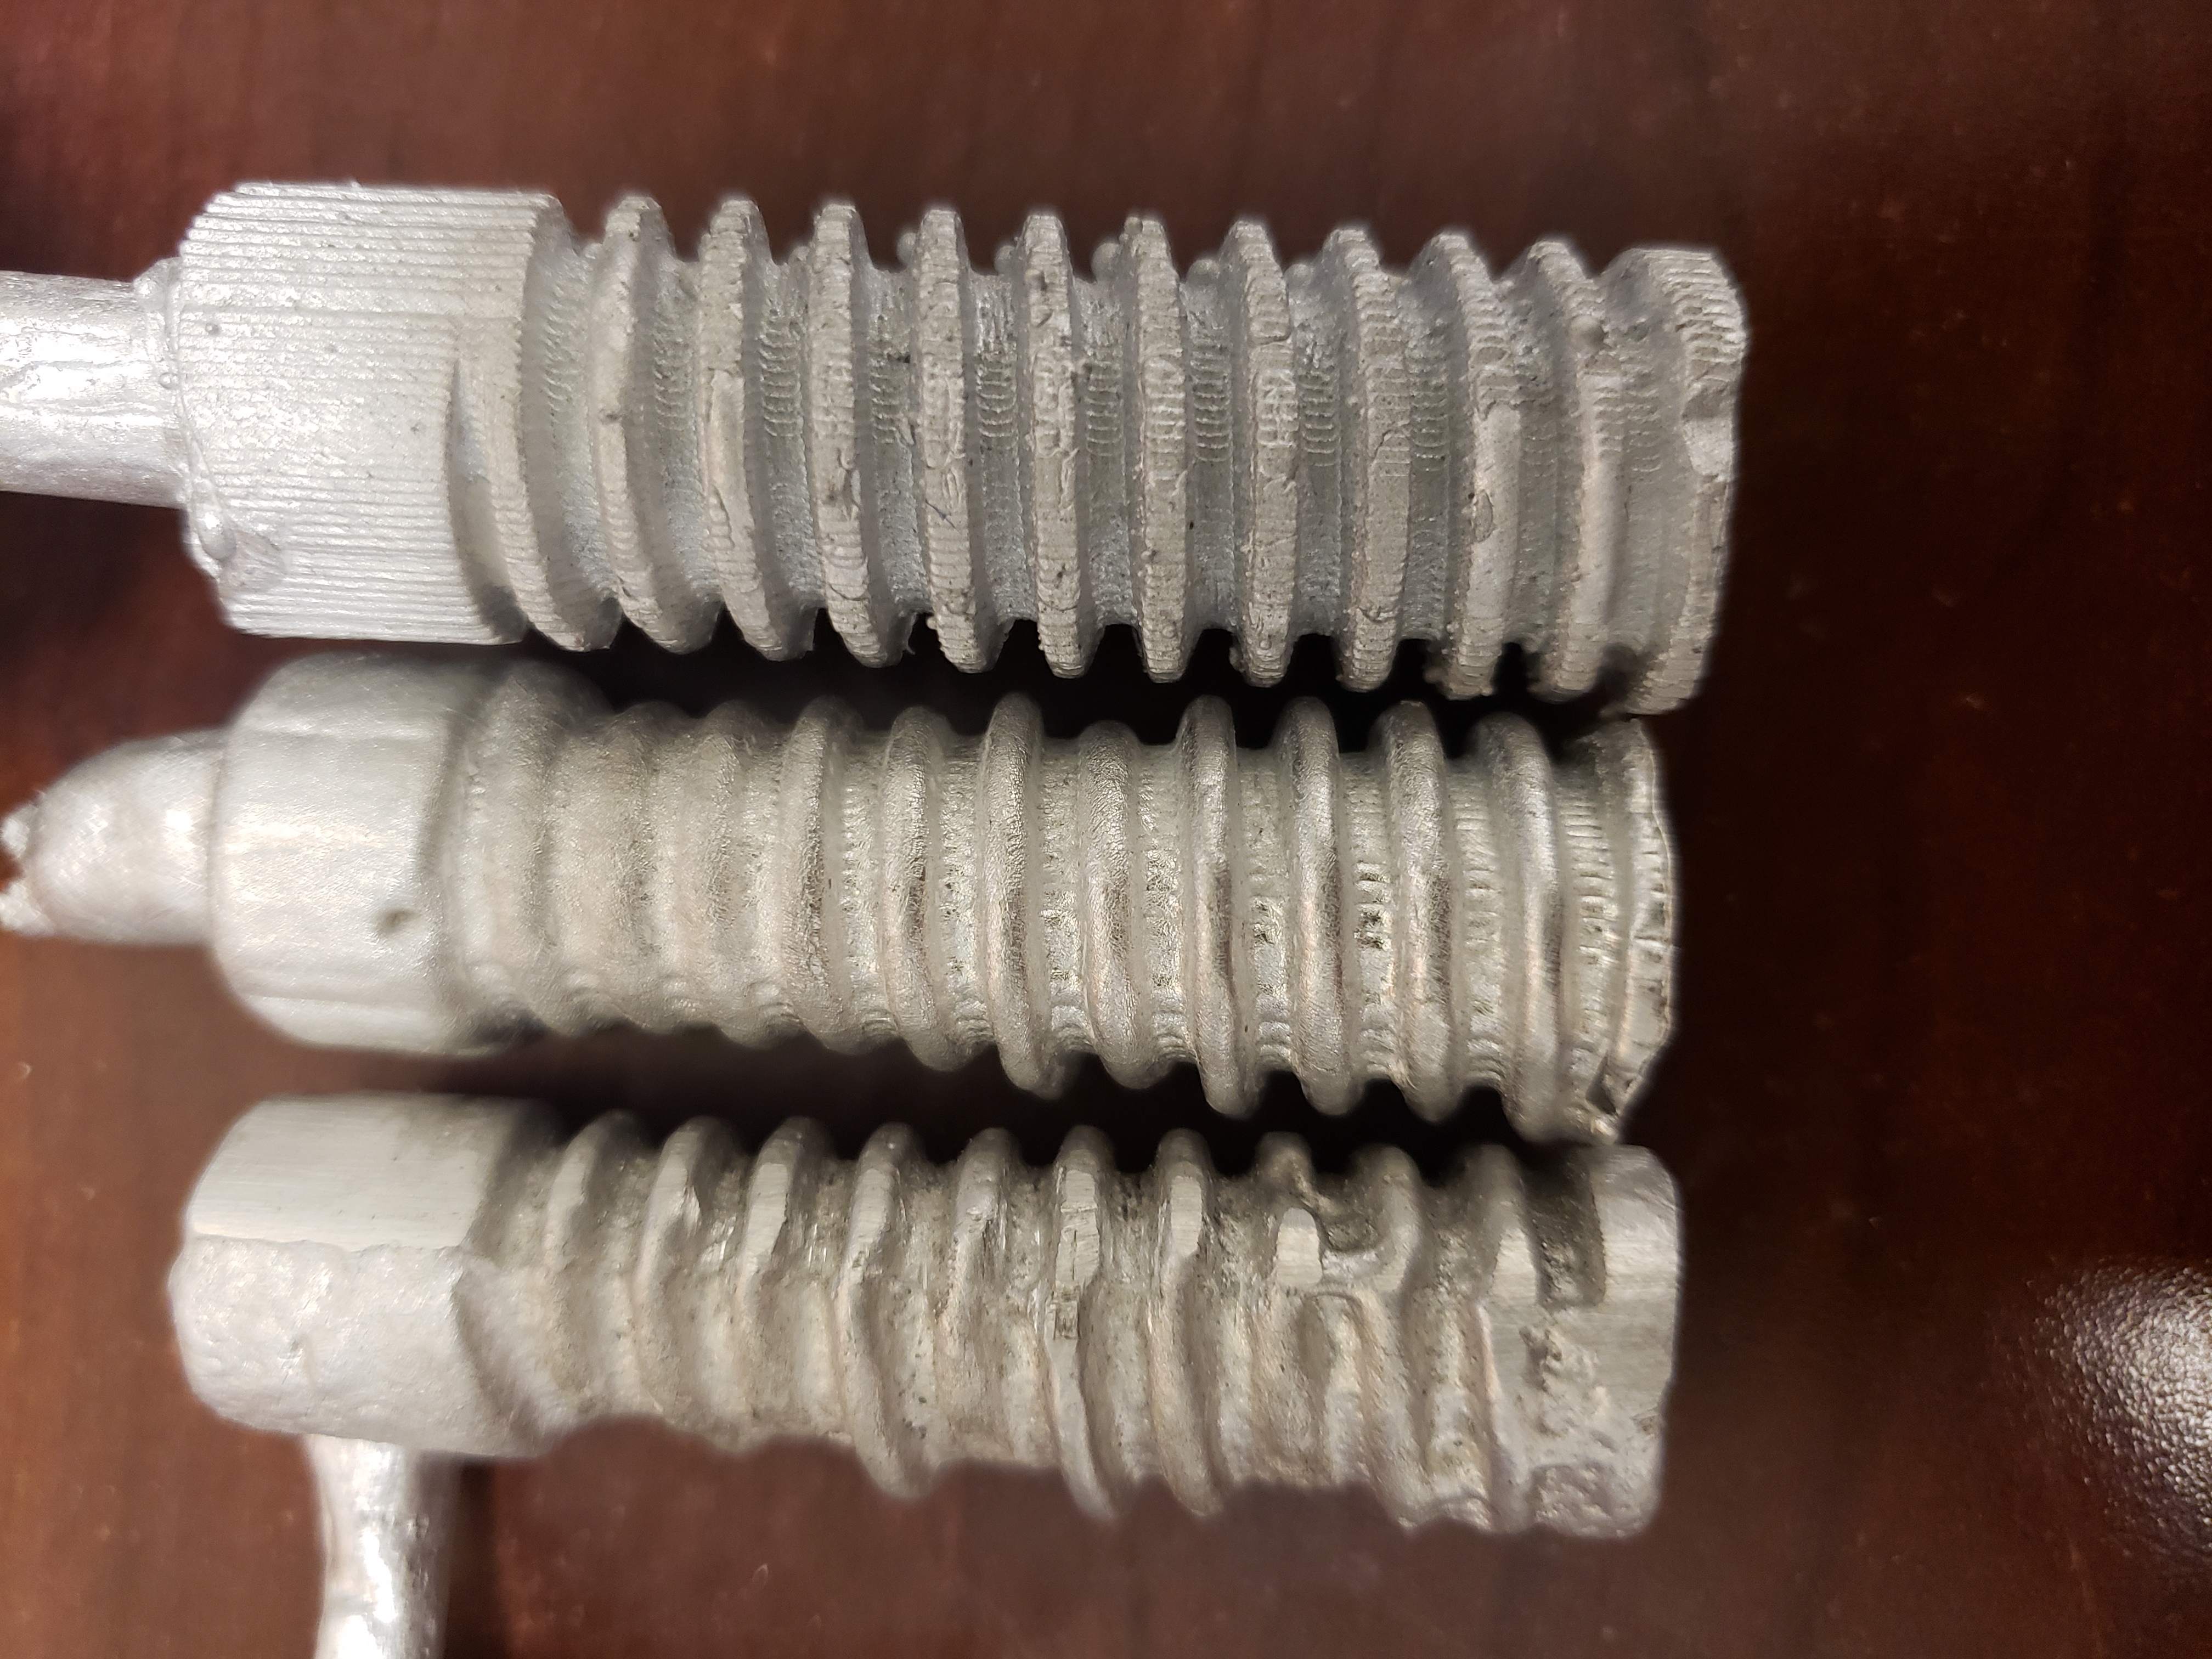
Here is the result. As you can see the machining marks are identical in both the machinable wax and the aluminum casting. I haven’t done any measurements to compare sizes but I see no reason the size of the final product won’t be 100% predictable and within tolerance of a machined product.
I’m not 100% there yet but you can see after 3 pours things are moving in the right direction. Problems to still overcome are as follows
- Get machinable wax milled perfect texture (or lack of)
- Increase silicone mold side wall thickness and reference points
- Glue my sprue on better. I made a mess at connection!
- Minor bubbles were in refractory and show on aluminum
- Polish aluminum in vibrator
- Determine size variation formula between 3D model and final product
Based on today’s pour I think it will be possible to pour metals the engage in moderate mechanical action.